How to Create a Dual Tone Lighting Effect in Photoshop (Step-by-Step Guide)
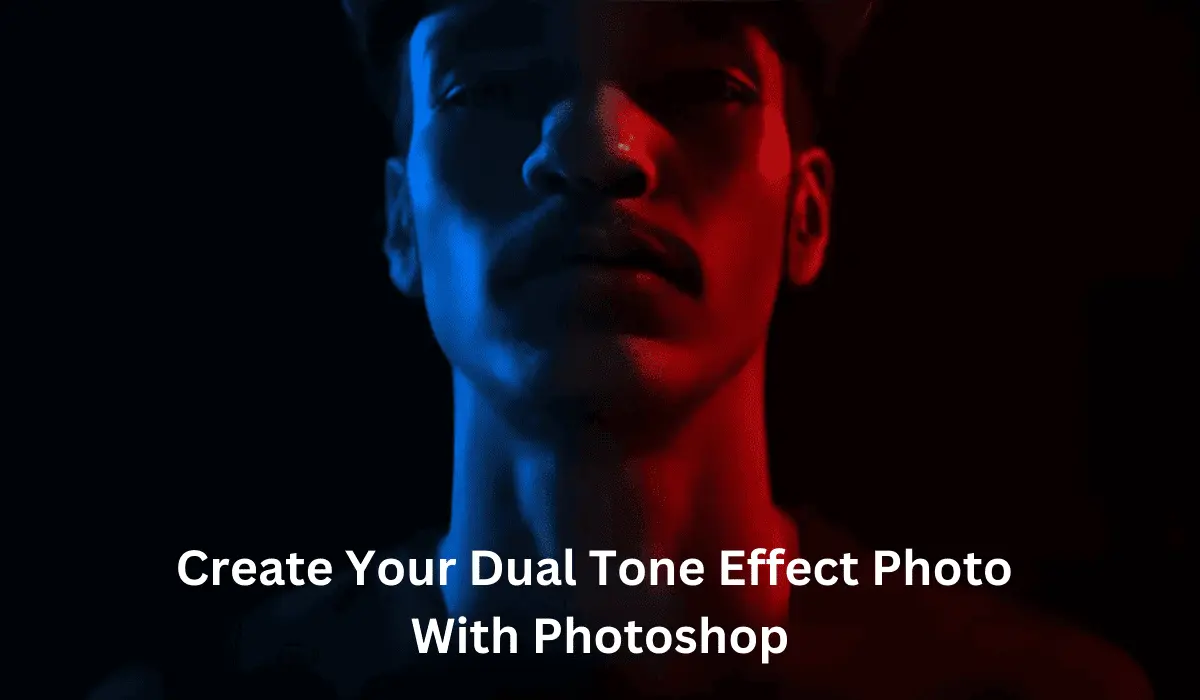
One effective technique to give your photographs a contemporary, cinematic appearance is to use Photoshop to create a dramatic dual lighting effect. With a few simple techniques, you can easily create this effect, which is distinguished by vivid red and blue lighting coming from each side of the image. We’ll go over the entire procedure in detail with detailed directions in this blog.
You Need Any current version of Adobe Photoshop
Detailed Instructions for Producing the Dual Lighting Effect
First Step: Launch or Open Photoshop and select or Open your image.
Open Adobe Photoshop.
– After choosing File > Open, pick your portrait photo.
Step 2: Make a copy of the initial layer
Ctrl + J (Windows) or Cmd + J (Mac) can be used to make two copies of the image layer.
Change the layers’ names to:
The original’s left and right lights
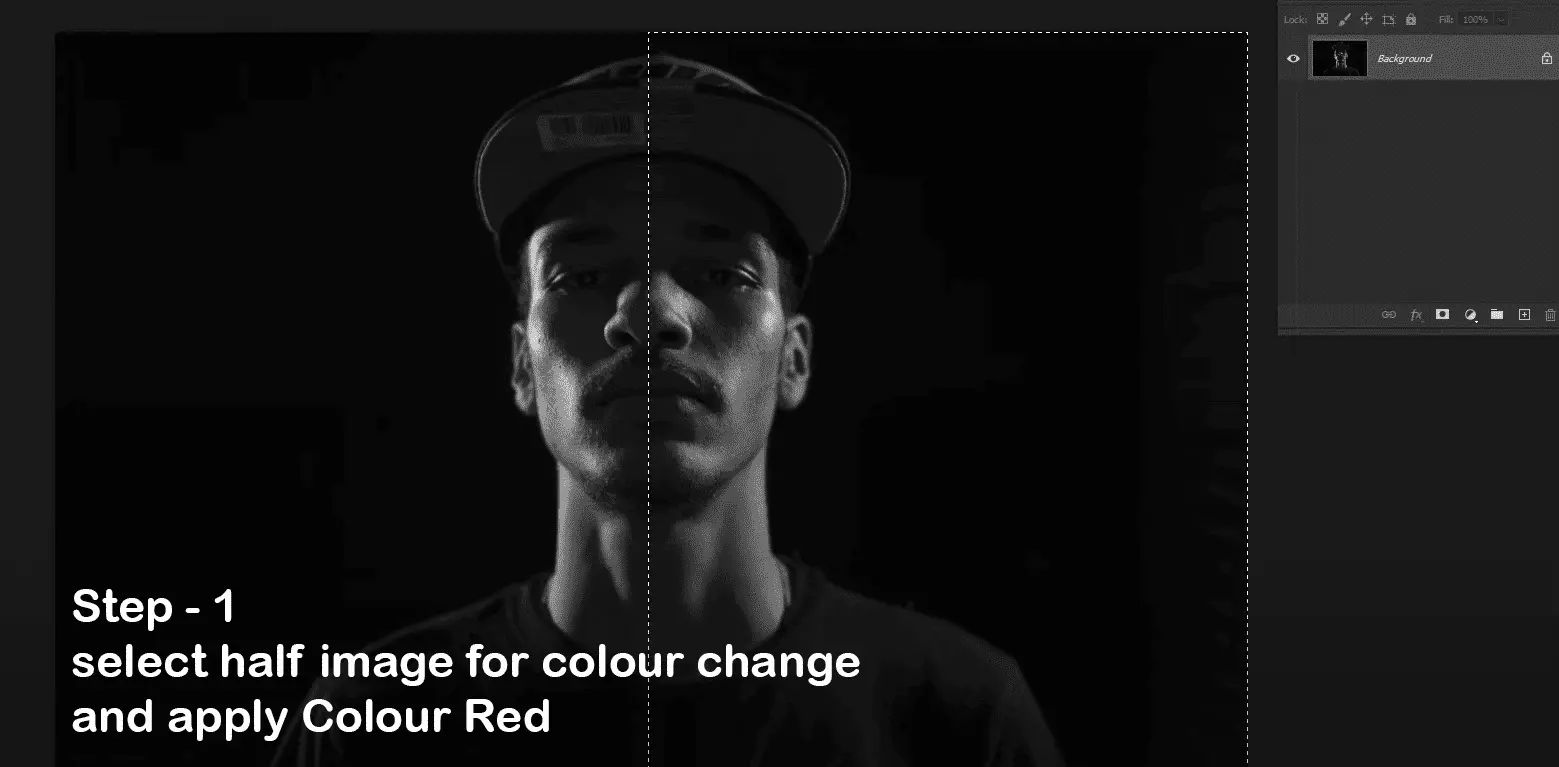
Step 3: Apply cyan or blue to the left side of the light.
1. Choose the layer labeled “Left Light.”
How to Make a Dual Lighting Effect in Photoshop 2. Either hit Ctrl + U or select Image > Adjustments > Hue/Saturation.
3. check image Colorize.
4. Configure the values as follows:
Hue – 180, Lightness: 0, Saturation: 50-70
5. give the Left Light layer a Layer Mask.

6. Pick a Black to White gradient by selecting the Gradient Tool (G).

7. To mask the impact just on the left side, drag the gradient from the face’s center to the right edge.
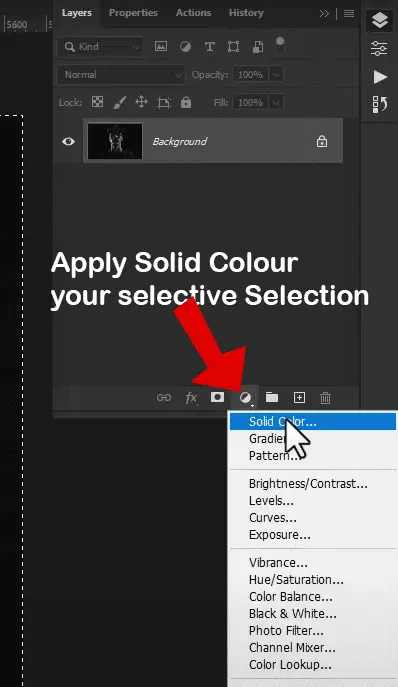
Step 4: Apply the color red (right light) to the other side.
1. Pick the appropriate layer of light.
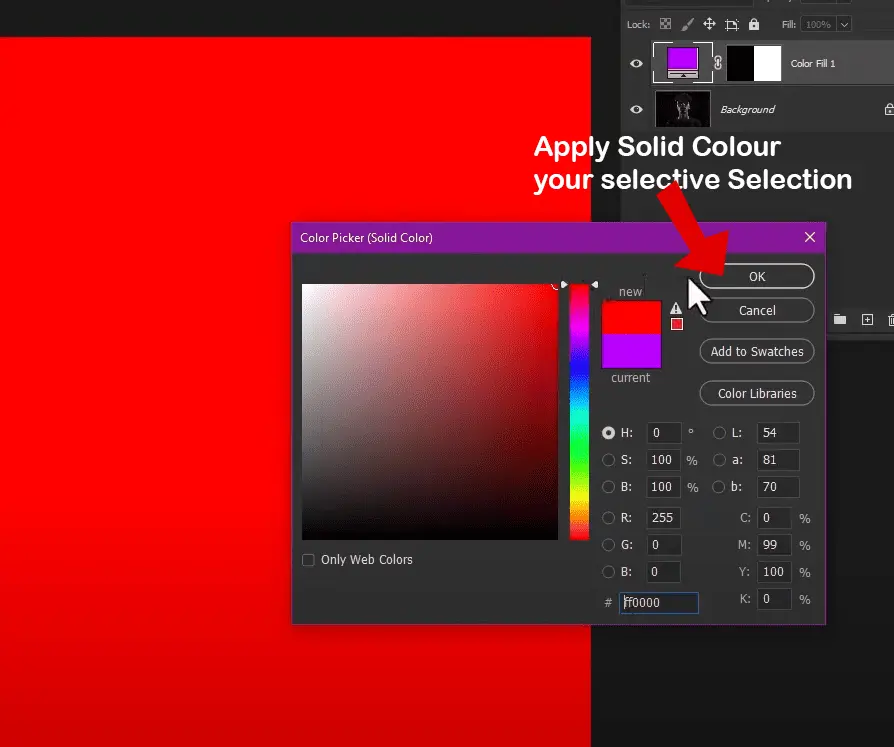
2. In Hue/Saturation, repeat the previous steps, but this time:
Hue: 0 (red)
Saturation: 50–70
3. apply a layer mask.
4. To apply the red to the right side, use the Gradient Tool once more and drag from the center to the left edge.
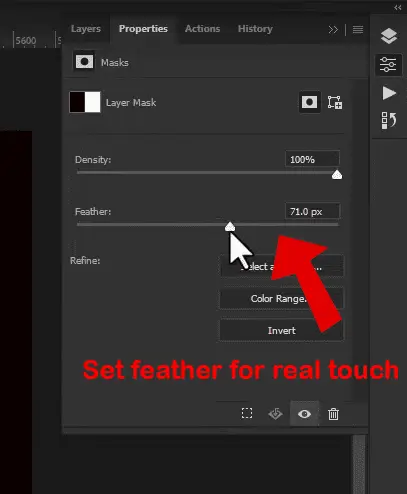
Step 5: Use Opacity and Blending to refine Modify each layer’s opacity to get a natural color blend. For a more seamless effect, you can choose to switch the Blending Mode to Overlay or Soft Brush tool on improve the color transition, apply a gentle Brush Tool on the layer masks.
Step 6: Make a new layer on top of the background and darken it (optional).
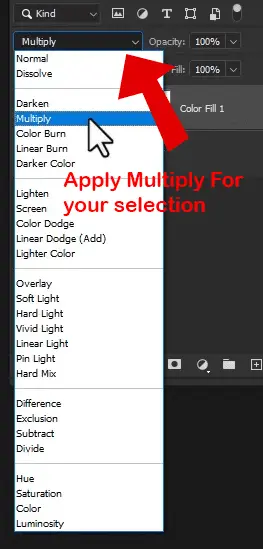
To achieve a dual lighting effect in Photoshop, use a black soft round brush. To darken the backdrop or create a vignette, paint the image’s edges.Reduce the Opacity or Select Layer and apply Multiply mode for dual tone effect

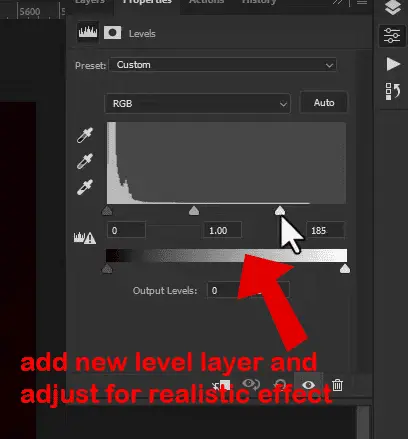
Step 7: Image Sharpen the subject (optional)- Use Ctrl + Alt + Shift + E to merge visible layers. Select either Filter > Sharpen > Unsharp Mask or Filter > Camera Raw Filter.Sharpening should be adjusted to highlight facial characteristics.
Step 8: Optional Text or Poster Elements Titles can be added with the Text Tool (T), such as “DUAL LIGHTING EFFECT.”Use a variety of typefaces and colors to complement the lighting design.


hi