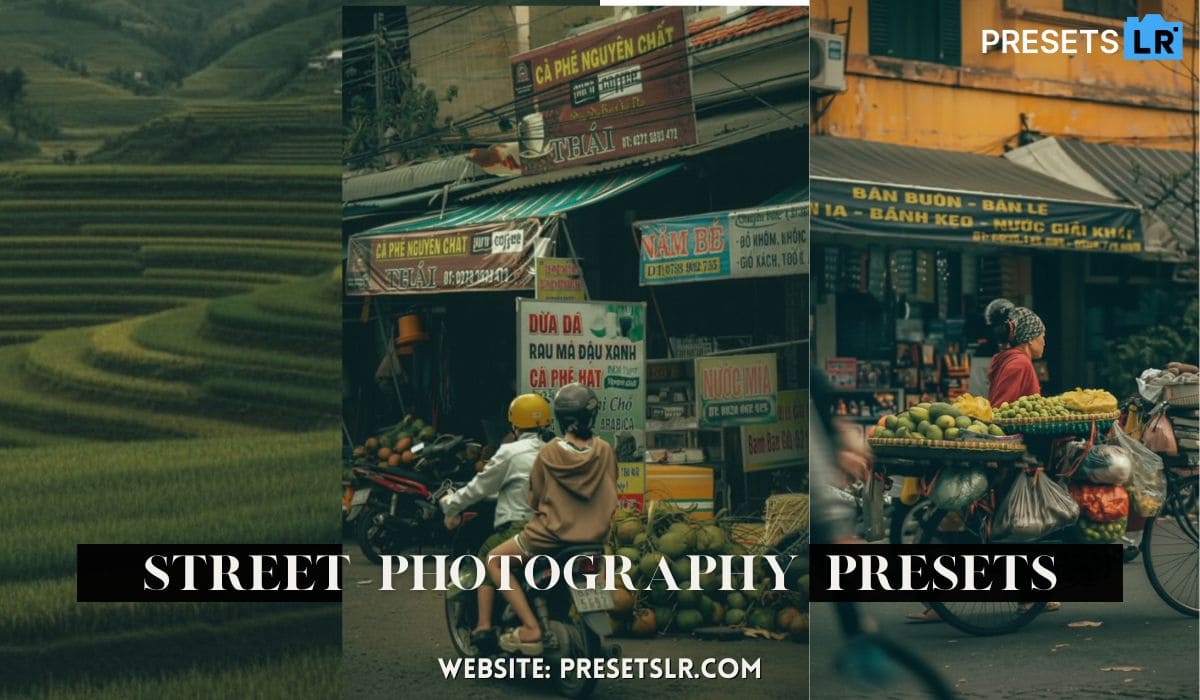
I’m going to teach you Yellow Tone Cinematic Photo Editing.
Step 1: Opening the photo in Lightroom
Now we move to color Editing in Lightroom app:
Red tones → slightly towards orange (+52), reduced saturation (-10), and Reduce luminance (-10).
Orange tones → Adjusted towards red (-12) for a natural skin tone.
Yellow tones → Reduced saturation and shifted them slightly towards orange.
Blue tones → For sky and water areas, shifted towards a softer blue (+41) and reduced saturation for a subtle look.
Yellow Tones → Converted dark green into a light Yellow Tone (+35 on hue), increased saturation (+49), and slightly brightened luminance.
This creates the base green-cinematic effect.

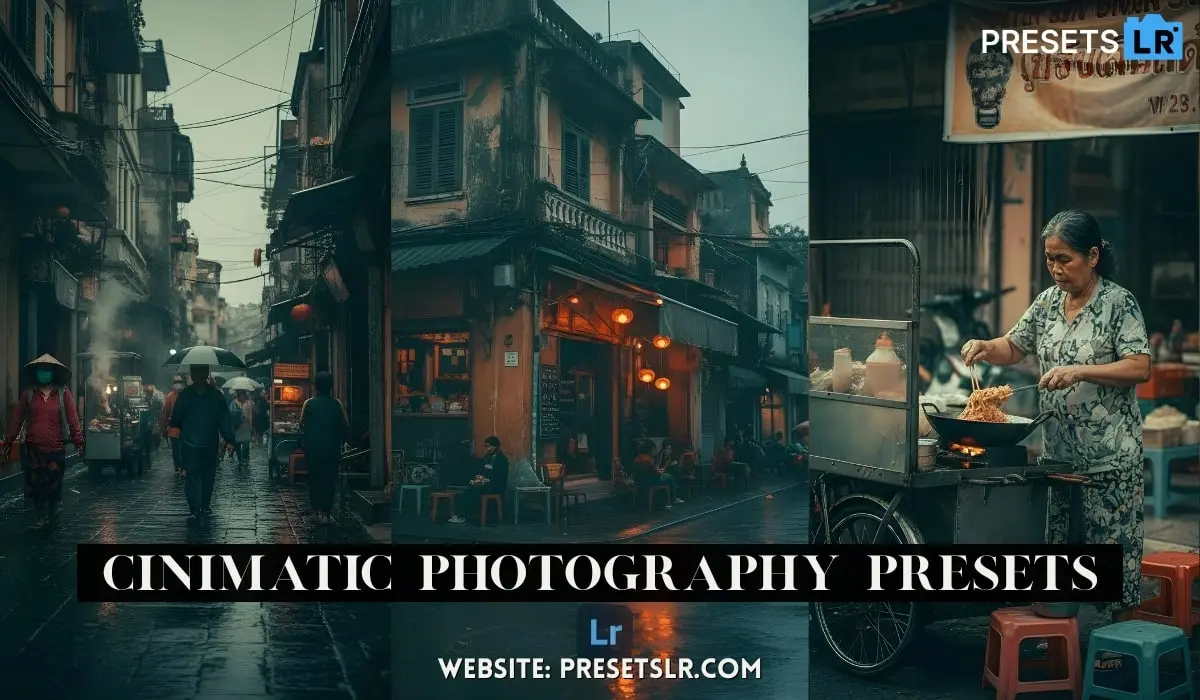
This creates the base cinematic Yellow Tone effect. If you want to skip manual edits, you can directly apply the Cinematic Yellow Tone Lightroom Preset Free Download for Presets
Adjusting Lighting
First, I slightly decrease exposure if needed.
I lift the shadows a bit so the photo doesn’t look too dark.
I also increase blacks slightly to brighten the image naturally.
Then I reduce contrast by -10, so the image doesn’t look too harsh.
Next, I reduce highlights to fix any overly bright areas, especially on the face where sunlight was falling.
I also slightly reduce whites because the ground and face were glowing too much.
I set clarity to -10 for a soft look.
I add radial gradient mask around the sky area to create a glow effect.
Inside this mask,
Lower texture (-50)
Lower clarity (-50)
Slightly reduce dehaze (-30)
Increase temperature for a sunlight effect
Adjust tint and saturation slightly to create a warm cinematic Green glow.
Your Photo Convert in Yellow Tone Effect This is best Yellow Tone lightroom preset u can download free this lightroom preset-
simply use the Cinematic Yellow Tone Lightroom Preset Free Download — it already includes these lighting adjustments.

Download Yellow Tone Free Lightroom Presets
Read Full Process For Better Understanding This Blog for Lightroom Preset Yellow Tone Effect.
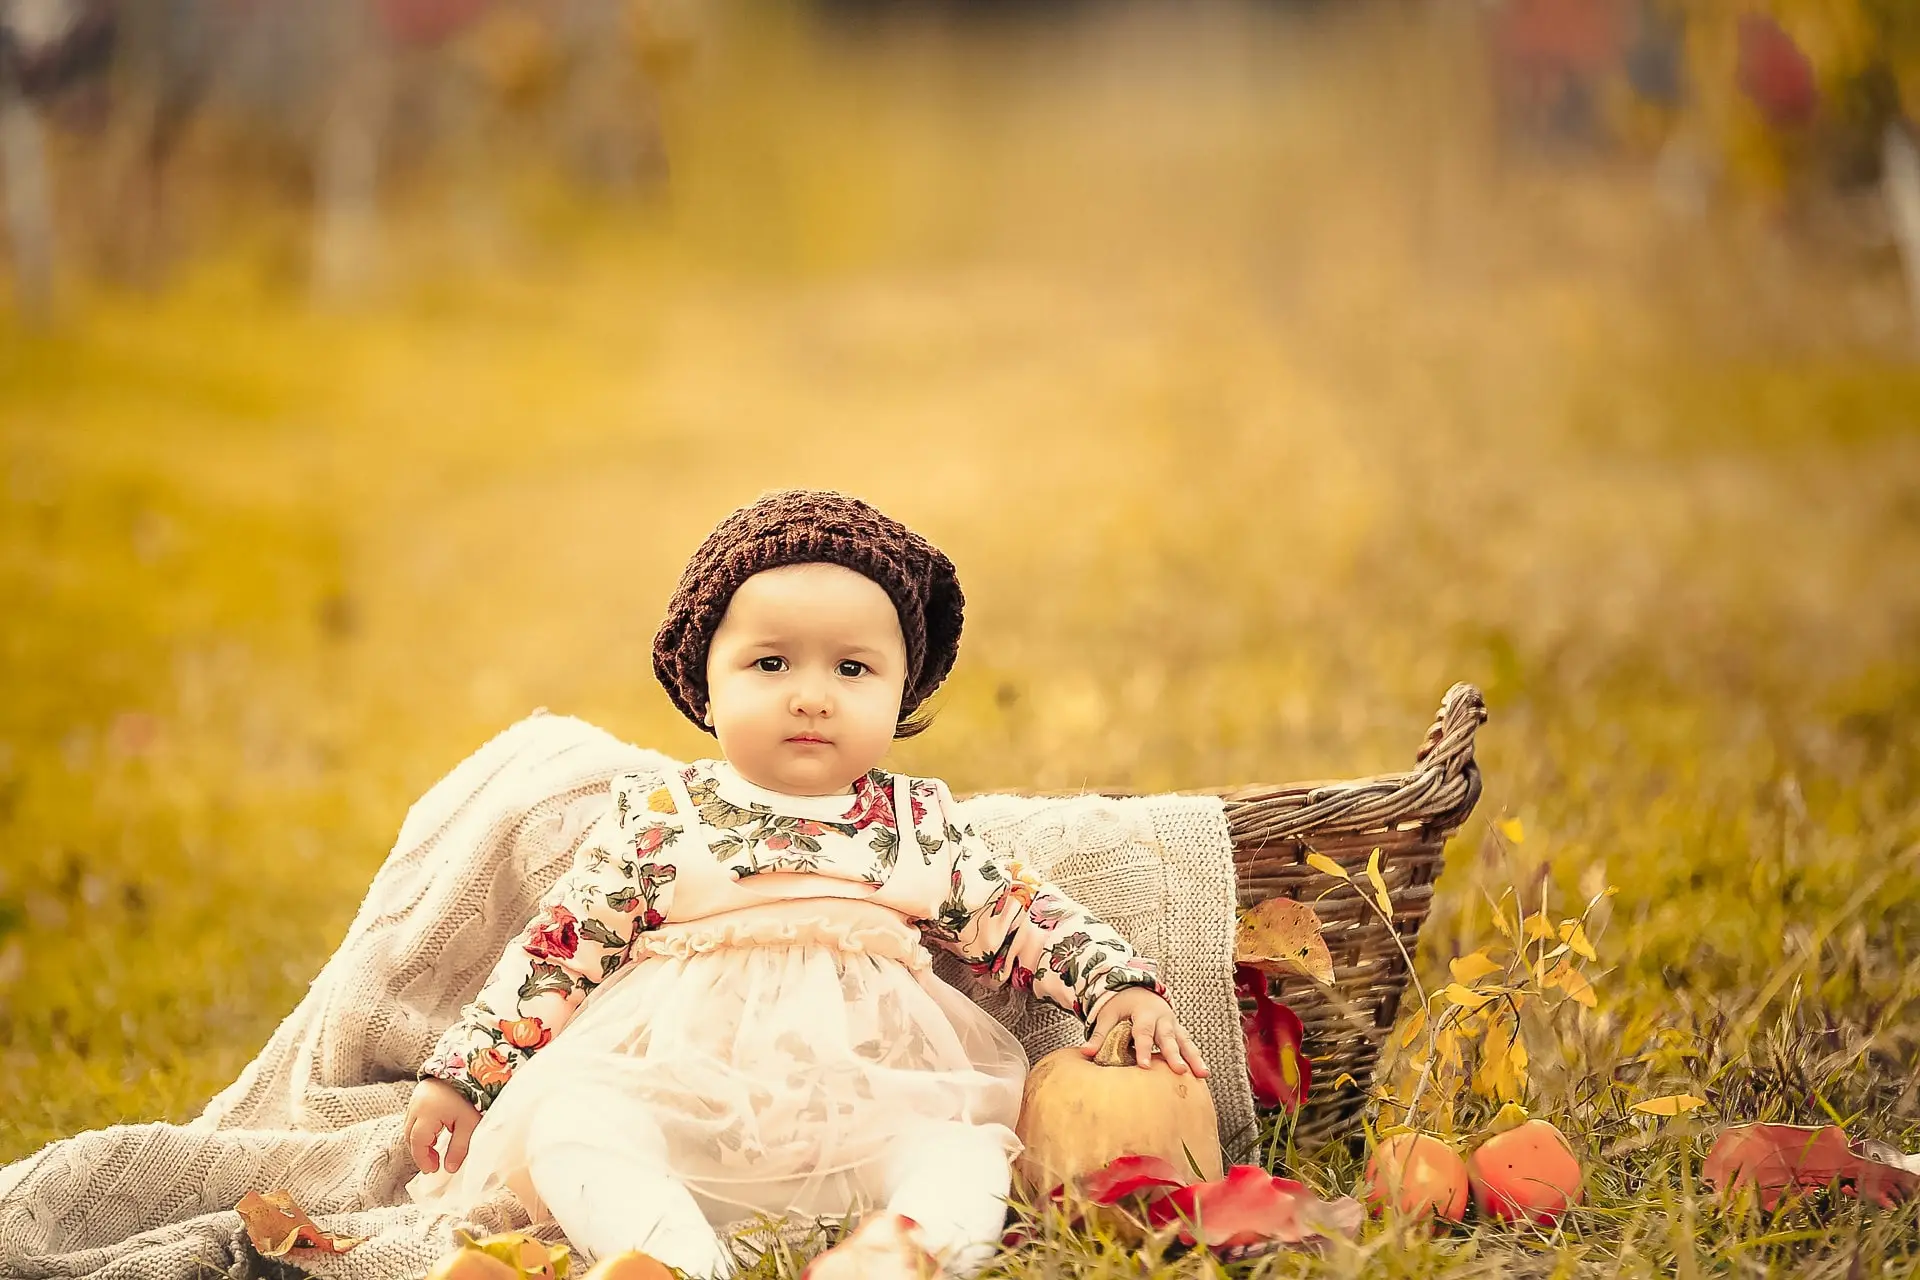
How did you create or change the hype? So first of all I will show you the before and after of this photo. So this is the before and after of the photo which was very dangerous after adding. And even when I was adding this photo, I did not know that I would add this photo like this. So in today’s video, I’ll tell you a little bit about how I edited this photo. How I edited the cinematic type. And in this, I will tell the A to Z of the fog light etc. that I have used. That’s why this video
Be sure to watch to the end. I’ll put the rest of the pictures in the description box. Go there and download it. And I put a six-digit password in it. So you have to give the whole video to know the password. I’ll give you the password below. A lot of people say that brother if you did not give the password, then give the side below the video. I’ll give you the password there. So let’s start without wasting more time. One day you’ll fall in love the next. On the third day you will be sick on the fourth day. Ok, so I’ll be the first
I will open my photo in Lightroom app. So this is my Lightroom app and this is my photo. Today I am going to show you this photo by manually editing it. Okay? I’ll tell you everything. I will also give you the rest of the pages of this photo in the description box. You can download it from there. So here are the pages. I’ll give it to you in the description box. Go there and download it. Okay? A lot of people don’t know how to edit, so brother you can copy paste. Okay? I’m going to teach you money
I’m So what do I do? I will click on the three dots. And here I will come to the pay copy settings. I will not copy paste here. I’ll delete the simplest one first. And going to pay light here, I will copy this to the curve tool. Okay? The Bicause Curve tool will become a very large video. Okay? So, this I will copy the curve tool. And I will just simply paste it here. And you can see it here. As soon as I pasted it, my photo became very dark. So here we will do a little bit of lighting balance. Okay?
First of all So the first step will be to balance the lighting. So what do I do here? I will press the exposure slightly. Okay? Rest of the exposures are fine now. That means first let us do a little bit of shadow plus. After the shadow plus, it seems to be light. And here we will do blacks and plus. Okay? And now our photo overall, which was our dark, has become a little light. The rest here we will slightly minus the contrast. -10 cut contrast we can further minus. But our photos are too much.
It will feel good. Okay? That means it’s going to fade. So I did our K-10 to get a life inside our photo. Okay? The rest as you can see inside my photo means the highlight has become a little bit more. As you can see my face is white in some places. Face end down so sunshine etcetera is coming so here I will minus the highlights. Okay? So I’m going to make it 46 here. I’m 48. The rest I’m thinking I’ll minus the wights a little bit too. My face is still glowing. And Joe
Even the sun is falling, it is also shining on the ground. So, here I will do -49. And here you can see my before and after I have done the lighting balance I have completed the first step. Now here we will go to the reading tomorrow. So, here just simple first I will go to red. And I’ll change the tone of my face first. Okay? So what do I do here? Let me move red to orange + 52 and let me make the saturation here minus 10 and luminous also minus 10. Okay? What will I do after that? I’m on the orange
I’ll go. And after coming to orange, I will take it towards red. Okay? -12 so that both meanings come out of my one tone. It’s the real tone of my face. I will slightly minus the saturation – I will also slightly minus 6 and luminous. Oye? So our face looks a little bit better. Butt which is this area over here this is the dark area so it will not be in colouring over here. It will be in the mask. So we will do that later. Okay? The rest I’ll just go to Yellow. Okay? Here in Yellow we will do a little bit. ok
Is it? I mean, changes. So, I will minus the saturation here. And here what is our U, I will bring it slightly towards orange. And saturation I will put it around 55. Okay? I will do so much. Yellow doesn’t mean much in our photo. Isn’t? So what do I do here? I’ll be right back on the green. I’m thinking green I’ll do it later. I’ll get to the blue first. And I’ll be wearing blue. And here I will select the radial gradient. And here I will not mask in my photo. Okay? I mean, I fit it well here. Okay? Here I will put the glue effect Inside your photo, which a lot of people were talking about after seeing that brother you have made from the High Peak App. So it’s not a high-tech app. Here I will fit it nicely. Okay? The sky will be there for you
It has to fit well. Then you have to come to the simple effect. After coming to the end effect, you have to redo the texture again -50. Okay? It’s got to be 50. And there’s nothing further back. You have to keep the creative also – 50 & Dh according to you. Okay? As much as you want glow, don’t put too much else it will take over. Okay? Minus I have kept 30 DH. Are u ok? You can also use the same settings. I’ll do the rest on my own. Okay? I’ll do the full plus. Because I need a little bit of sunlight type.
So, I will do the full plus here. Okay? It was like our blue. Look, we’re already yellow. Okay? So it’s a little better. The rest of the tent, I will make the tent plus. I will also make the plus 20 end slightly plus so that there is a glow effect like sunlight. Isn’t? In a little cinematic type, there is always sunlight in the cinematic. So, I will put sunlight here like I will make the saturation plus so that it comes out as light yellow. Okay? Sunlight from the front. The rest will come to the lighting here. I will add white to add a little bit of sunlight and white to the end lighting. ok
Is it? I’ll add a little light. So I’m not going to go full length here. Don’t make as much of an impact as you want. Okay? Apply to the same settings. As far as I know, you’ll love it too. So now I have done plus 40. The rest I will slightly plus the black as well. Isn’t? So that the black part of the leaf etcetera becomes a little brighter. So, here I have put plus 33. And here as you can see there is a lot going on in our cinematic. Now we’re going to do the rest
Above. So, what do I do by going to masking here? Select the colour option. And after putting it where my face is black, I will reduce its refinement. Your area will be selected. Okay? Only the skin area will be selected. After selecting the screen area, you have to click on Apply. After clicking on apply, you have to correct your face a little bit. Okay? That’s the area. So what do I do here? I will minus the situation first. Okay? Our face looks very pale.
had been. Yellow and orange. So I deleted it. I’ll subtract the rest a little bit. Our faces looked oily. And what do I do here? I’m going to smoothen the face. So, to smooth the face, I will reduce the texture to minus 50. And you can see it here. Our face is our skin tone. Okay? So the rest is still fine but we have a little bit left. The rest of the pay shadows here we will slightly plus. Isn’t? It feels so good. The rest still means a little too dark area in our face.
Light in some places. Because I clicked the photo in a very shady place. There were no lights there. So there was a dark spot on my face. You can see where I’m putting I have selected this area back in this area color range option. I made a new mark. Okay? So after selecting this area, you have to reduce the refinement. So, your dark area only that selected area will be selected. Okay? The rest have left. So what do I do in the rest of the area?
I’m going to add 10 more. Okay? Shadows so that my dark area becomes a bright area. And here I see a lot of red. So what do I do about it? I’ll make it minus 10. After I’m done, I’m going to do it. And here you can see our overall face is looking very good. The rest of our face looks dark below as well. So, here I will come back to the marking. I will click on the plus icon. And here’s a selection of colors. Once I select it, I will keep it in my dark area. ok
Is it? And I’m going to reduce it. Reducing the refinement will only select our dark area. Isn’t? So I’m going to do that. And I’ll make the settings. I’m going to be here. And here I will add shadows. Okay? I will make plus 10 and slightly black also plus 10. All in all, we’re feeling pretty good. Skin tone is our everything. Okay? So we don’t have to do much on the skin. I’ll get to the rest of the masking. What do I do after the masking? I will click on the plus icon. and
Here I will use the radial gradient again. Okay? I’ll tell you about it first. I’ll fix that first. What do I do after that? What I mean by this is flow, do not keep the flow hard. Keep it soft. So to keep it soft, you have to fill it up. Okay? So I completed it. What will I do after that? I will minus the texture – 50. I will also reduce the clarity to -50. Okay? I will also increase the rest of the days slightly. Now you people will think that this is happening above the brother body.
So if you have to take the back of the body, what is the first thing to do for it? You have to turn on the masking. Here you will see the option of Pay Plus Minus. After clicking on the link, click on Subscribe. After that, click on the selected item. What will happen to that? What you have done will go behind your subject. Okay? So, here you can see my subject has been selected. The subject has moved on. And whatever we were doing has gone backwards. Okay? So now what we will do here? We’re all just simple things.
has been done. And here we will add back sunlight etcetera. So, I will press the temperature here. Okay? And here I will make the saturation also slightly plus. Okay? I will make the saturation also slightly plus after making the rest of the tent slightly plus here. Now you must be wondering what these Sharma brothers are doing? So I’ll tell you. I’m adding a sunlight from behind a tree I just want to feel a little bit unique. I thought it looked a little bit weird. So here I am, behind the tree.
I added to it. Wait, I’ll show you right now. Okay? So, here I have made the whites and black also slightly plus. Isn’t? So let me just show you. This is the tree, I have added a little sunlight from behind this tree. I mean, there’s a little bit of creativity in my backside. Okay? This seems a bit odd. So I thought, so I did. So I’ll get back to the masking now. And again I will use a new radial grain. And that’s where the sun shines. A light is coming on. Here I am
I’ll add sunshine. Okay? the yellow type. So this is how I fit it. After fitting, I will apply the same settings. I will minus its texture. I will also slightly minus the half pay crate. And I will also slightly minus the DH. What will I do after that? I will make the DH lighter and minus so that there is a little bit of light. Isn’t? I’ll be right back. And I will make the temperature whole plus plus. I will slightly minus the rest of the tent. There was a green area below the bcoz so I made a slight minus. The rest of the saturation
I will make it slightly plus so that a sun type of yellow type falls. Okay? Wherever the sun is falling in the future, there the entire yellow-lowi starts. Isn’t? So how is it? Go forward, go back. A little would be nice. In the rest of here you can see the land has become a little bit blue which is our blue part. So let me show you another creativity in this. I See, where I am sitting, the whole flower has fallen. Okay? It means that the leaf has fallen. Okay? Orange. What will I do with this? I will use the brush tool. and
Let me see the size of this what I have kept? My sizes were 27 and 70. I will keep the same. And here, I will select my land area which is the area below. Okay? I’m going to quickly brush it up here. I Okay? Now let me show you a magic. I’ll tell you one thing. Okay? So, here I have selected the entire area. What do I do after I’m selected? I will come here for work. From tomorrow I will just plus the saturation. Let’s do more now
After that, you can see how good our bottom is going to look. You can watch Before and After Just added a little bit of saturation and our photo looks much better. It doesn’t look like I took a photo. I mean, it looks like an AI has been added. I mean, it wasn’t high. The rest I will go back to the brush. And which is my shirt, I will correct the color of the shirt a little. I’ll show you a minute. Okay? I’m going back. First up is my shirt. We don’t have to fake it. So what do I do here? What do I do after completing the selection? I will slightly minus the temperature so that we have a little bit of blue. Okay? Come to the dark green. After that I will make the tent slightly minus. Okay? I will do minus sorry plus. And then I’ll add a little more. Around 38 and now you can see Before and after.
Right now our Before and After. Okay? It’s looking good in our photo. I’ll go back to the masking. I will slightly lower the temperature on the masking. So here you can see before and after is looking quite good. The rest I will come back to masking. I will click on the plus icon again. And here I will select the subject. Okay? Because we have selected the entire lighting waiting in the background. But our whole subject seemed a little dark. I’ve done the exposure
I’ve made a plus. And I reduced the contrast a little bit. I will do the rest of the light shadow plus so that our subject does not look so dark. Okay? They also seemed soft, lighting. So here you can see how beautiful our photo looks. In the rest here you can also see the masking etc. I’ve done so many masks. Masking plays a huge role in your photo. Okay? That is, masking is very important inside your photo. Just doing it tomorrow won’t make your photo look so good. I’ll take you here
I will remove all the masks. Okay? So, here I have deleted all the masking. And after deleting I will show you. Okay? This is my normal photo which is a simple photo that we got yesterday. So our photo does not look so good. But when I started adding masking, I was like, first masking ok, this is the first masking, we did a little bit of that effect, second masking, this is the third masking, this is the fourth masking, this is the fifth masking, this is the sixth masking, seventh, eighth, ninth, tenth, total 10.
Masking I have done inside this photo, then you can go and see how good our photo is.
This is Best Effective Yellow Tone Lightroom Presets- You Can easily Download this Yellow Tone Lightroom Presets Direct Download Link Drive free Download This Yellow Tone Presets.
Download Free Yellow Tone Lightroom Presets.