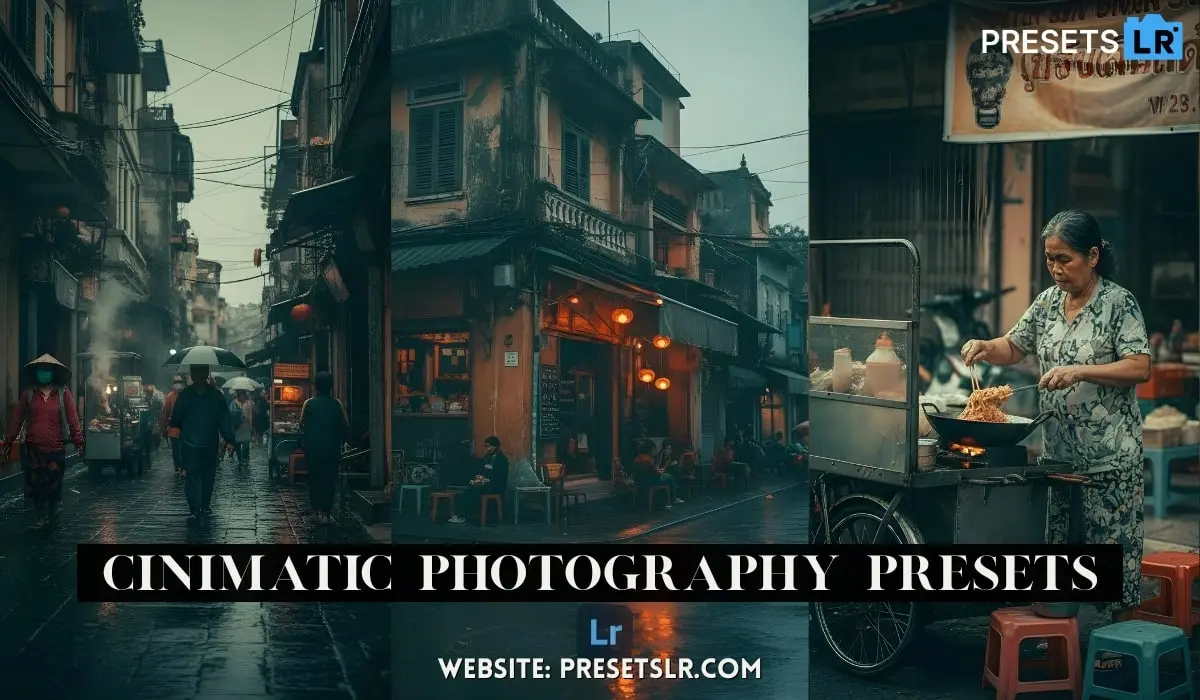
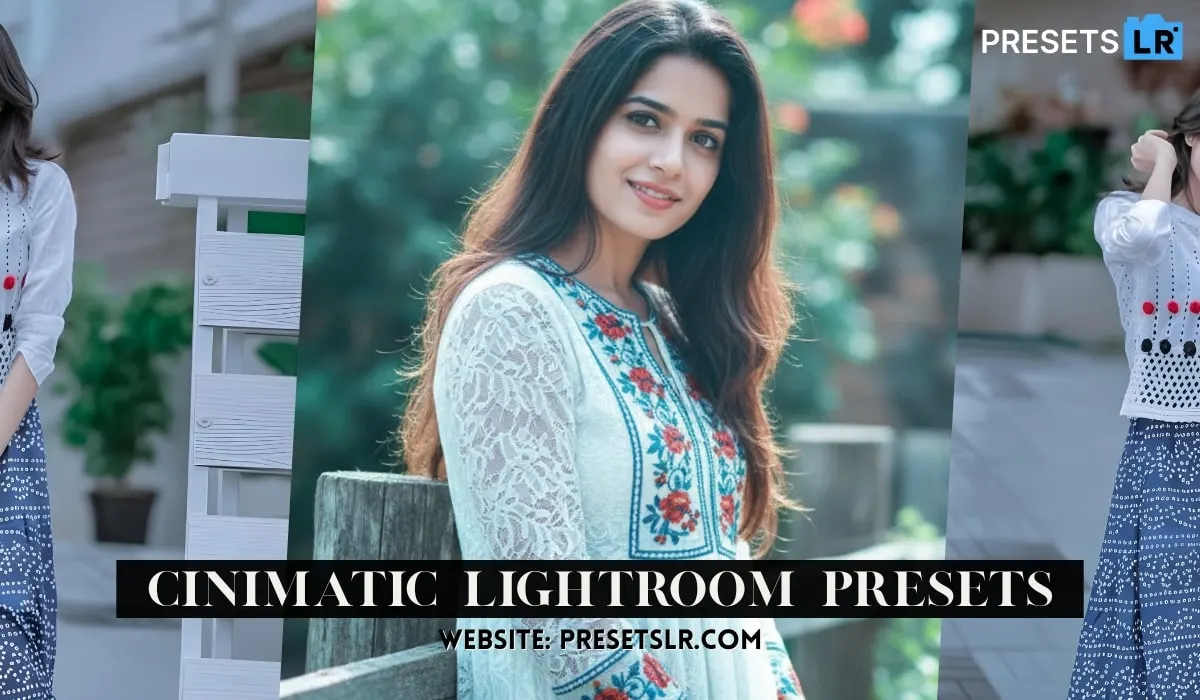
I am going to teach you to edit such cinematic and aesthetic photos because right now the season of Monsoon is going on and at this time such photos are very much trended on Instagram. If you are a beginner then Today I am going to tell you everything from basic to advanced. Like how you can use graphs, masking, color grading tools. This is Free Monsoon presets Download & Use-
Import + Basic Light panel
Import image → Edit → Light
Exposure: leave at 0 (adjust only if image is globally too dark/bright)
Contrast: −25 (softens contrast for moody look)
Highlights: +20
Shadows: +15
Whites: +10 (transcript was unclear — use +8…+12)
Blacks: +10
Texture: +10 (gives micro-detail; don’t overdo it)
Clarity: −10 (softens mid-tone contrast slightly)
Dehaze: 0 (leave global; use masks for intentional haze/fog)
2) White balance
Temperature (Temp): −10 to −15 (cool the image to favour blue tones)
Tint: small adjustment only if skin tones need balancing (usually 0…+5)
3) Color / HSL / Color Mixer (the key for cinematic monsoon)
Use these as starting points — push less or more depending on the photo.
Reds: Saturation +8 to +12 (warms skin and umbrella/flowers)
Oranges: Luminance +8…+12, Saturation +8…+15 (keeps skin tones bright)
Greens: Hue −5 to −15 (shift green slightly toward teal), Saturation −20 to −40 (subdue bright foliage), Luminance −10 to −25 (darken greens)
Blues: Saturation −10 to −30 (deepen sky/water), Luminance −5 to −15
These mute the greens/greens-yellow and lean into teal/blue for a moody monsoon look. Download Free Lr Preset Monsoon effect-
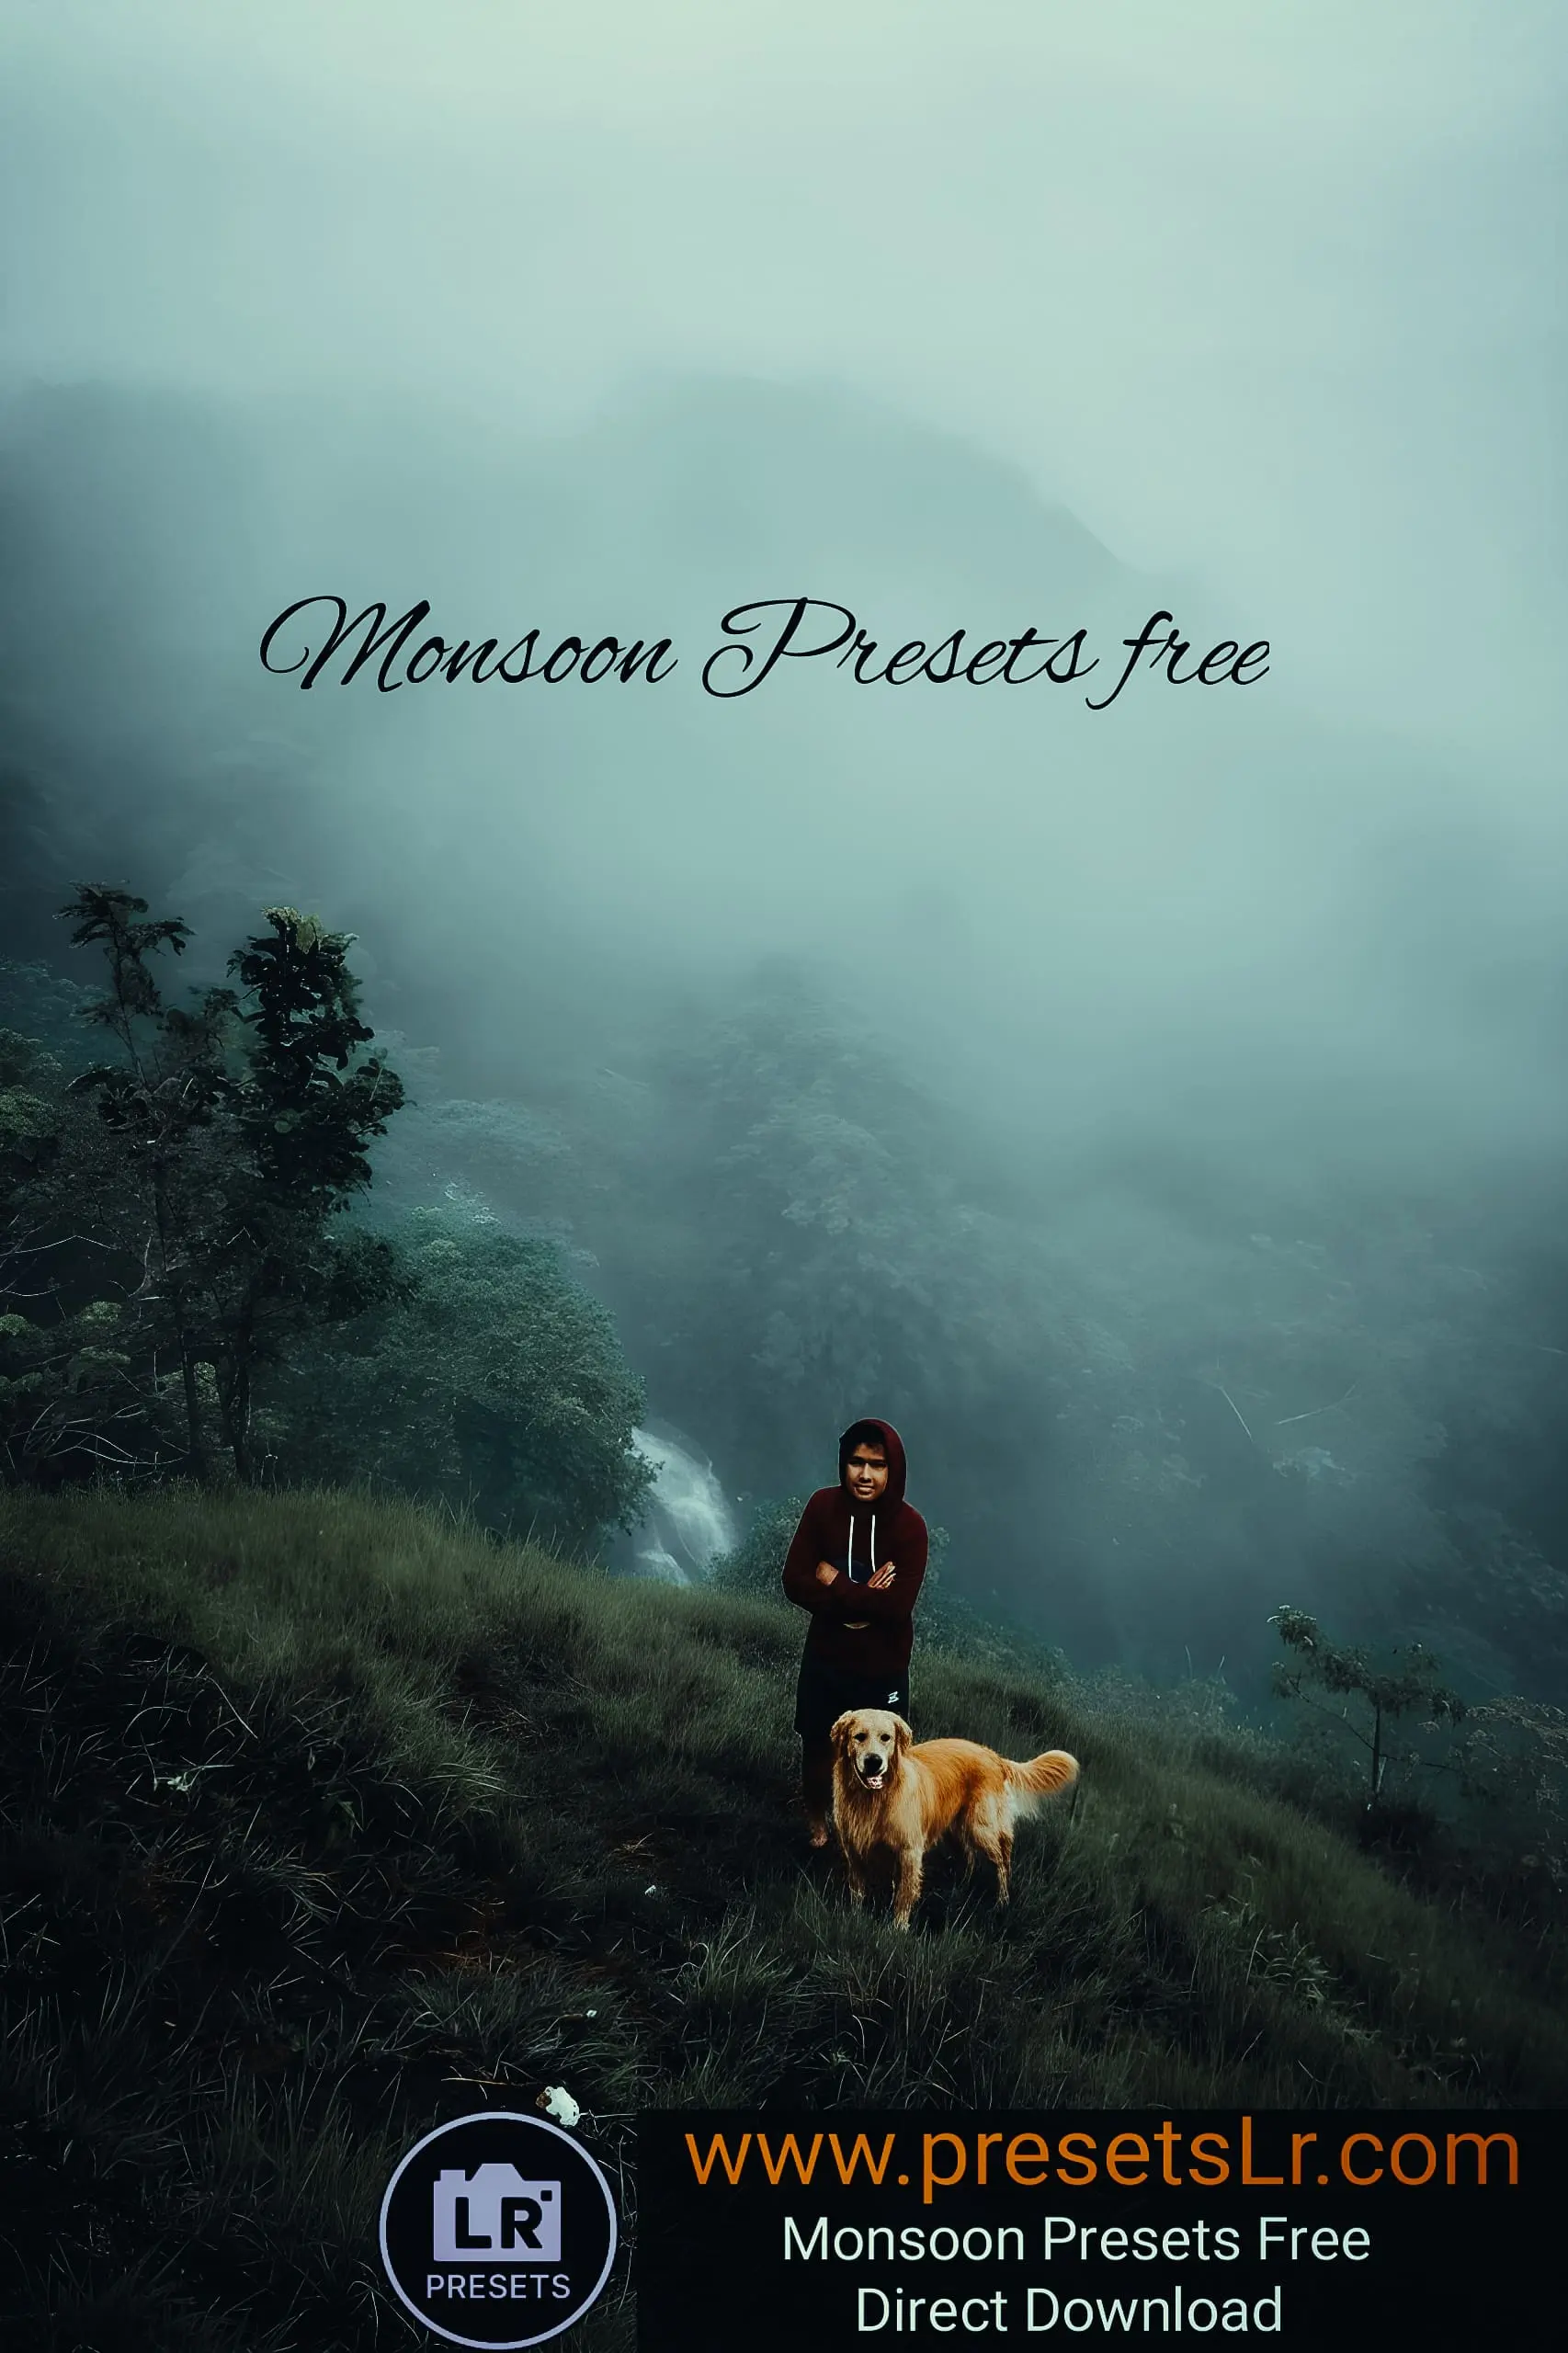
Foggy Monsoon Mobile Lr Presets
So let’s begin. You see here, whatever photo you want to edit inside Lightroom, you have to import it inside Lightroom. I’ve uploaded my photo in Lightroom. I will show you this photo by editing it inside Lightroom. Click on the Edit option. have to come to the light. I will first minus the contrast. See here you will minus up to 25. Highlight Plus
I’ll make it to 20. We will add its shadow from here. Up to 15. Look at the weight of it over here I will make a plus. And the black of it I will also make it plus 10. I’ll be here in color. Temperature has to be reduced to minus because we will add blue tone to it. So, here minus up to this. 10th also I will minus up to 15. The donations will go to the options seen here. Above you will see the color mixer. Let me come to the green color here and minus this u. Saturation has to be added. and the luminescence
Take a look here. Adjust the color tone of your photos to match the color tone of your photos. So, here also look at this I did luminous minus. I will minus all these to the saturation of the given blue color. Let me add to that. This also I will minus the saturation here. Then I will come here in orange and I will make its Luminous plus and I will make the saturation plus. Let’s make the saturation of red here plus and click on done here. There is a slight change here.
I haven’t done much here. Now here, you see, after this is done, I will go back from here. Once I go back, I will click on the gradient option. I will make the saturation plus by clicking on the shadow here. Choose any one of these colours. Whatever you want to put in the shadow, I will put green over here. Now look at the give here I will come to the highlight. I will plus this from here to the true agent and in this also I will select a color from here to blue. Donations will come in mid-tones here. It’s plus
I will do it again up to 10 over here and from here see I will select the green color over here. So, these mid tones here in the green tones we have put over here. Now after doing this you will come back from here. I will make its texture plus 10 by clicking on the given effect. Don’t do too much. I will come here. You have to reduce it to 10. Don’t do too much. Otherwise, it will look fake. And you have to add to it. Click on the option below. Look at the amount here, from here I’m plus
I’ll do it Give up to 30 see its masking from here I will make a plus. I’m going to add 30 more. Now that that’s done, let’s teach you how to mask. Then click on the Mask option. Click on the plus button here. And from here one has to take a linear gradient which has to be brought from such a bottom to top. See here, this has to be done by Subject to Mask and Select Subject. This will automatically select your subject. It will come under your subject. And now here’s the light
Click to reduce exposure I’ll do as much as you want and add to its texture Add up to 10 lights. I saw here you people, is our lower part or has it become dark. Now look again I will take another linear gradient from here and bring it from top to bottom. I won’t do much. I’ll do that a little bit. Take a look here and I’ll add a little bit. So the exposure has to be plus by clicking on the light. A slight contribution is to minus the clarity. DH also has to be reduced. Both of you have to do it.
Look again click on plus and take a radial gradiant let me subject it. Wherever such a frog is to be added, it will be placed here. It has to be increased. You have to keep this circle here and there Click on it. I will make the contrast plus. Take a look at the highlights I’ve added here. Now let me slightly minus the temperature here. I will click on the given effect. I will minus the clarity to 15. Whatever is the DAZ of this you have to minus it up to 40. So here now the fog will be added. You’ll see all the pins.
I’ve added to it. Now let’s see here again click on the mask and I will duplicate it from here and another one I will see here wherever I will add the fog I will put it like this. See here, by clicking on the effect, its fog is getting higher, so you can minus it. So, see here I will not minus this. This is ok. Here you see that my marking has been completed. If you want to do something else in your photo, you can. But I won’t do anything else here now. Now here
Look, I’ll be back. So I’m back here. Now look here I will click on the light. Here I will teach you how to use the curve. So for that see you have to go to the light to use the curve. So, I will click on the see light here. I will click on the curve. Check out the blue colour here. Give is to add a point in the middle here. And the above point you have to take like this. You have to move a little bit upwards. Don’t do too much. Blue tone should be added. So it’s up him
will bring to the side. I’ll click on the green here. And this I will bring it slightly upwards. Green is the colour here. So, you can see here. Now after doing this, we will click on the red color here. I’ll bring it down a little bit like this. If I take it up, it will be yellow. Add a little red to it. So I’ll bring it down for him. Now see here we will click on the white point. I’ll add a point here. I’ll add three points here. give
I will bring the bottom point up and which is my second point or I will bring it slightly upwards like this. Let me see here I will add one more point in the middle and bring it down like this. So, this is the highlight shadow added to it. So, you can see here. Now you see, after all the editing is done, you have to come back from here. Click here for the details. And see here I will come to the noise. I will add this to the noise. Let’s see here I’ll come to Grain and also Green from here
I will do more. You need to do both. So here you see our editing is complete. I have told you everything step by step. Give details. Take a look at the pictures and let us know what you think of the blog. If you still have any doubts, let me know in the comments section.