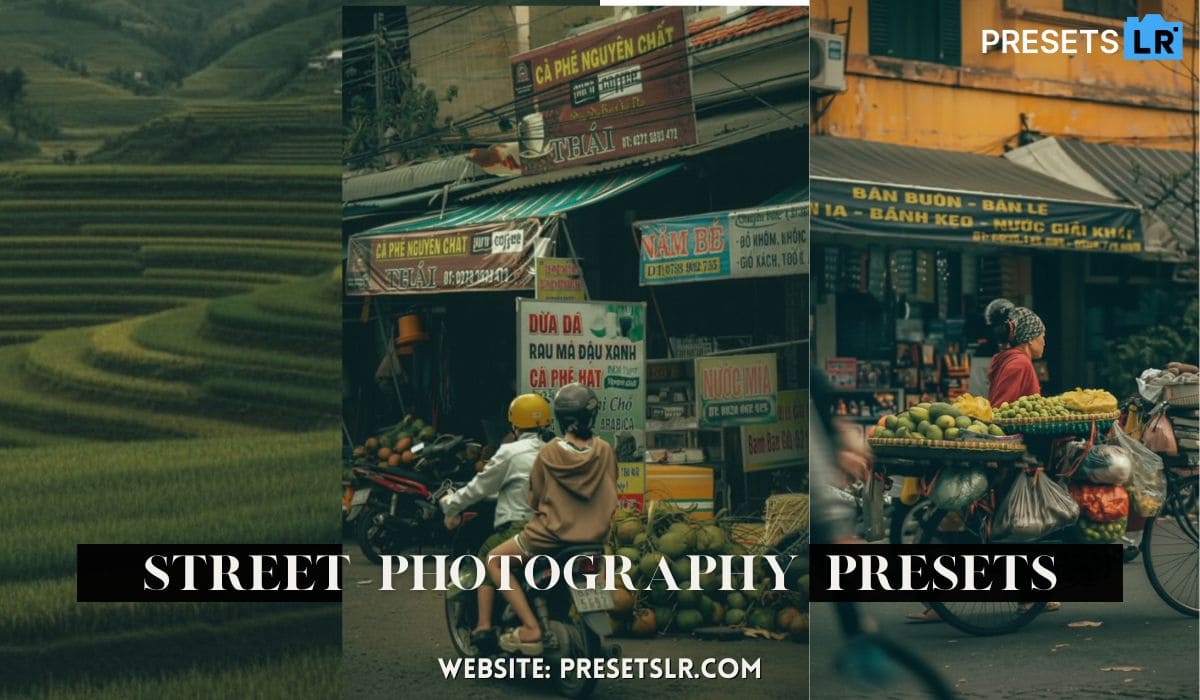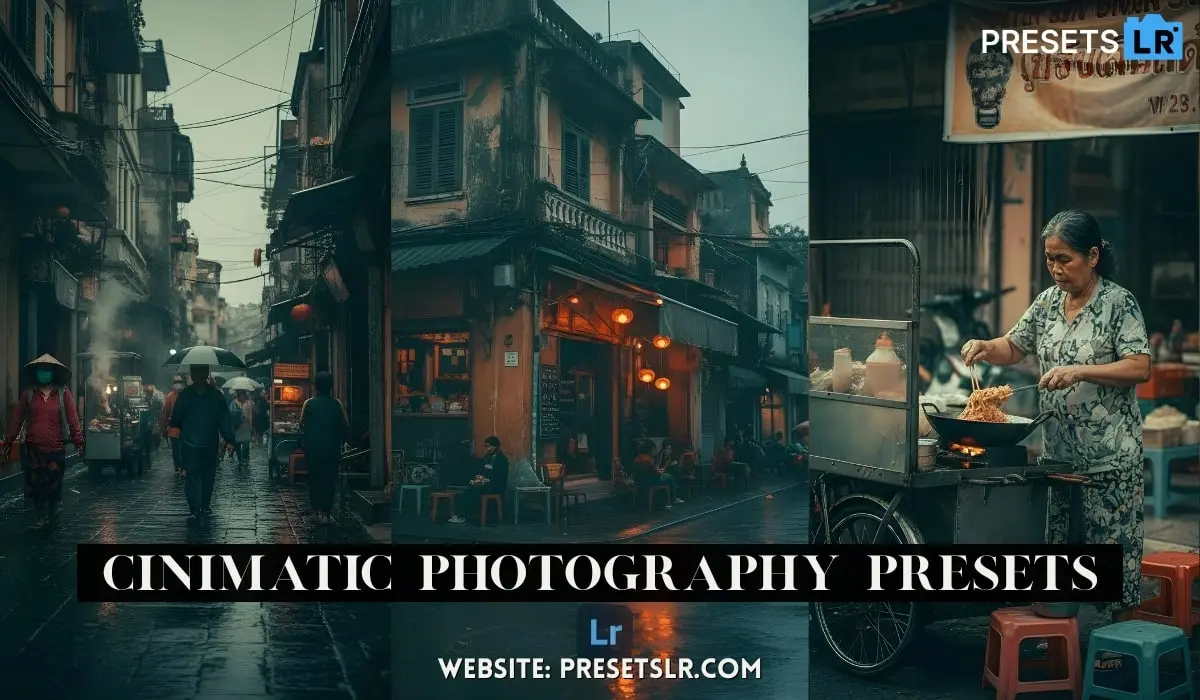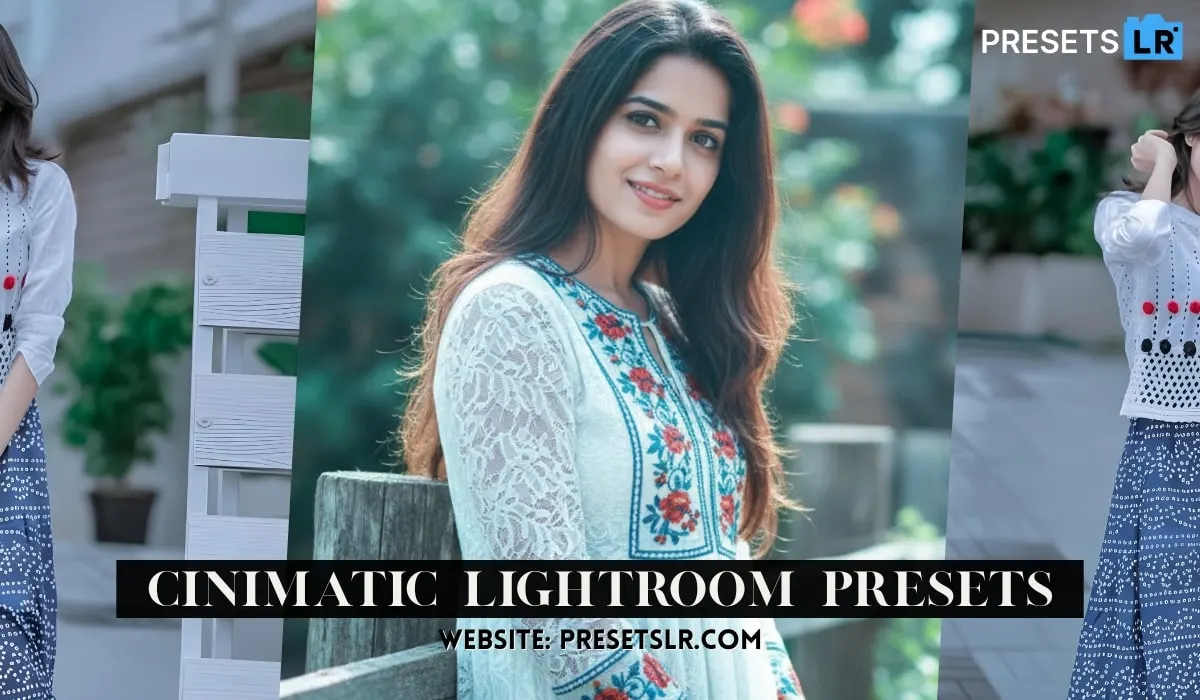
Cinimatict Lightroom Presets Free download – Create Cinimatic lightroom presets Easy Simple Steps:
So I had uploaded a lot of tutorials on Lightroom masking, and you guys showed unbelievable support on them. Oh man, that’s why I couldn’t stop myself. I’ve brought another advanced masking tutorial. I’m going to explain in detail all the features related to masking. So let’s start the video. We’ll begin after a short intro.
How to Open / Import Presets in Lightroom Mobile
Method 1: If Your Preset is a DNG File
This blog very helpful for create cinimatic presets easy step
Step-by-step:
Download the preset (DNG file) to your phone.
Open the Lightroom Mobile app.
Tap “+ Add Photos”.
Select “From Files” or “From Gallery” (wherever your preset is saved).
Choose the DNG preset file → tap Add.
Open that DNG photo inside Lightroom.
Tap on the three dots (⋮) on the top right.
Choose “Create Preset”.
Name your preset → tap Save.
First, simply open your Lightroom application.
Download Cinimatic Prestet
After opening Lightroom, you have to add your photo. This method works perfectly even if you’re using cinematic Lightroom presets or any other LR presets from the internet. With these simple steps, you can convert your normal photo into a cinematic photo—so make sure you read the full blog.
Once your photo is added, go to the Masking Tools. Everything I apply here will work along with your cinematic presets, free download presets, or any LR mobile presets you already use. Later on, for color adjustments, I’ll use separate tools.
After tapping on Masking, a clean panel will appear. At the top, you’ll see Select Subject and Select Sky. But before using those, let’s talk about the three most important tools used in both manual editing and Lightroom presets editing:
Brush, Linear Gradient, and Radial Gradient.
If you master these three tools, your color grading will look professional—better than many LR presets packs.
First, let’s add a Linear Gradient. After adding it, tap the point at the top. You’ll see three control points, each with a different function.
-
Drag outward → the two lines expand
-
Drag upward/downward → creates smooth cinematic blending
Pull it slightly downward, then a bit upward, leaving some spacing. This gives your gradient a smoother fade—similar to premium cinematic Lightroom presets.
If you tap here, the red highlighted area will hide, but your color grading will still apply to that region. I’m tapping here so you can see it clearly.
Now let’s talk about Select Subject and Select Sky, as I mentioned earlier.
Tap the plus/minus icon, then choose Subtract from Mask 1, and select Select Subject. This removes the red mask from your subject. Without this step, your grading—even with top cinematic presets or LR presets
Now let’s move toward grading. In masking, we will add the tools that are used the most — Clarity and Dehaze. Lower the clarity. Lower dehaze a bit more. If the highlights look too strong, go to Light and decrease the exposure slightly. I lowered it here. Then drag it a bit down. Okay, then tap on the right checkmark. Our first linear mask is done.
Now let’s add one more linear gradient so you understand clearly. Tap the plus again and add another Linear Gradient. Now we’ll add it at the bottom. To add it at the bottom, simply tap Invert. Then use the feather controls to make it smooth. At the bottom, we’ll add black color because if you want your photo to look aesthetic and cinematic, highlights and shadows must be maintained. Otherwise, it won’t look cinematic.
So simply reduce the exposure — that’s a beginner-friendly addition. Now see how cool the photo already looks. But there’s still more to learn.
Tap masking again. We’re done with Linear Gradients. Now let’s talk about the other two tools: Brush and Radial Gradient.
The brush tool works similarly. With the brush, you can draw over any specific area like this. So that’s the brush tool — very easy.
Then again, go to masking, tap the plus icon, and choose Radial Gradient. Tap in any area — like here. Using the two dots at the top and bottom, you can adjust the size.
Now let’s add darkness inside this little hut. So reduce exposure and reduce dehaze a bit to make it slightly moody. Then tap the checkmark.
Back to masking. We’ve completed all gradient tools. Below you’ll find Color Range. Color Range selects only one specific color from your photo.
For example, look at the sky — it’s white here. See how it selects only that part? This means color will apply only to the sky. If I select the grass, see how it selects only the green area. This is extremely useful when editing landscapes or mountains.
After selecting the area, tap Apply. Then adjust exposure or other settings according to your needs — it will apply professionally.
Like if I want to decrease brightness on the mountains, I can easily do it. But I don’t want to add this mask, so I’ll remove it.
Below that is Luminance Range. I’ll make a dedicated video on it because it’s both complicated and important. If you want an advanced tutorial on the luminance range tool, comment “bring luminance range tutorial.” I’ll try to make an in-depth tutorial on it. That’s all for masking tools — they’re all completed.
Now there’s Select Sky. Just like Select Subject, Select Sky is also very easy. If you want a separate layer only for your subject, tap Select Subject. It only selects your subject. If you want your subject to look a bit highlighted, you can increase highlights slightly. I don’t think it should be too bright; I think this looks fine. But still I added a little.
These tools look complicated but they’re actually very easy to use.
After applying them, there’s another tool — a bonus tool. If you use my version, you will also get a blur tool. Tap here and increase the blur amount. If you don’t have a DSLR or iPhone, this can help a lot. This tool works perfectly. You can see the blur amount increasing. But I won’t use it because it goes off-topic.
Now tap the checkmark. Then go to Color Tools. Then to Color Grading — the one I talked about earlier.
Color grading is a tool that changes the entire mood of your photo. For example, if I want an orange-teal look — it’s very simple.
You’ll see three categories: Shadows, Midtones, and Highlights.
First, let’s start with Shadows. Add teal color in the shadows. Remember I told you earlier — without proper highlights and shadows, you can’t do color grading or make your photo cinematic. That’s why we added gradients earlier in the shadow area. Now look how beautifully orange and teal are getting added.
Then in the Midtones, add a light green. Keep the midtone amount low. Tap in the center and reduce it a little.
Then in Highlights, add orange. No doubt, it looks amazing. Look at the sky — how well the orange tone is added in the highlight area.
After that, if your skin isn’t good — I mean girls run away after seeing you — then tap on orange in the skin color panel, reduce saturation, and increase luminance. This will turn oily skin into fair skin. Then tap Done.
But I don’t want it too overdone. By the way, this was off-topic, I’m just emotionally attached to my subscribers. No, I shouldn’t abuse. No abusive words.
After this, to add quality to your photo, simply go to Effects. Add texture and clarity — keep around 20. Then tap Vignette and adjust the amount. Increase the midpoint slightly. Increase the feather to max. This makes the vignette smooth.
Then go to Grain and increase it slightly. Many people think grain ruins the photo, but that’s not true. Grain saves your photo from tearing (pixelation). If you use sharpening with a bit of dust, grain actually holds the pixels together. It prevents your photo from breaking. Understand?
So as you can see, your photo is ready. Check the before and after. This was the before, and this is the after. Amazing, right?
Then tap the share icon and choose Save to Device. Your photo will be exported easily.
Your Photo convert Easily Cinimatic Tone