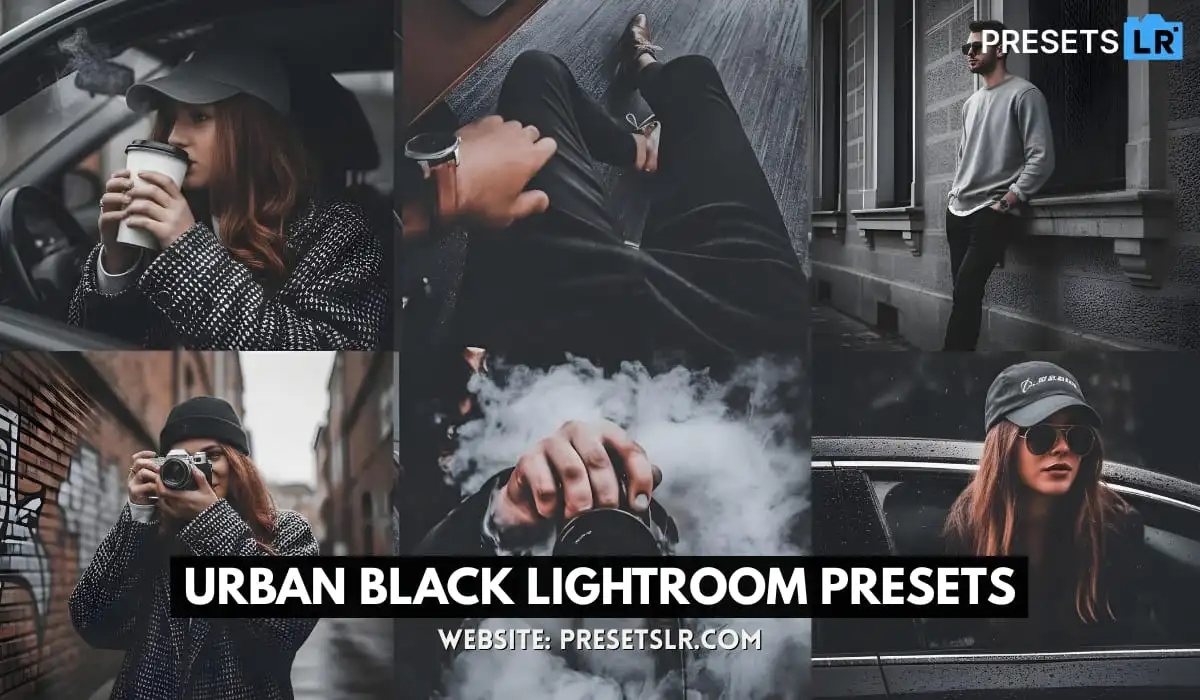
Black Lightroom Mobile Preset
Hello friends, how are you? hope you all are well. In today’s article I am going to give you Dark Black Photography preset lightroom Free. Using this Black Lightroom Photo preset you can edit your photos in one click. You can definitely download it for free without any problem. So, let’s see how to Use & download this amazing preset Black Lightroom Presets.
what’s happening team Black Dark tones editing in Lightroom and how to use subject isolation techniques to make objects separate from the background and jump right off the page so welcome back to the Blog- guys now my last Blog on dark tones editing did so well that I thought I’d make another Blog on the subject but this time taking things even further using all of the newest features from lightroom’s latest update and specifically how to isolate a subject from the rest of the scene let’s begin
How to Use Black Lightroom Preset:
Open / Import Presets in Lightroom Mobile
Method 1: If Your Preset is a DNG File
This blog very helpful for create Wedding Photos Editing presets easy step
Step-by-step:
Download the preset (DNG file) to your phone.
Open the Lightroom Mobile app.
Tap “+ Add Photos”.
Select “From Files” or “From Gallery” (wherever your preset is saved).
Choose the DNG preset file → tap Add.
Open that DNG photo inside Lightroom.
Tap on the three dots (⋮) on the top right.
Choose “Create Preset”.
Name your preset → tap Save.
Black Lightroom Mobile Presets features
One-tap photo editing
Consistent color and style across images
Adjustable intensity (slider to fine-tune the preset)
Works on RAW and JPEG photos
Batch editing (apply preset to multiple photos)
Professional color grading and tone control
Enhances workflow speed and efficiency
How To Create This Black Presets in Lightroom Application.
Black Lightroom Mobile Preset Download Free
using a Ferrari image For edit This Photo To Dark Black Edit I’m guessing at magenta enter so
let’s over saturate to match the Reds at about plus 30. but also let’s match the Hue pushing into the Red Spectrum and leveling out the Reds into the magentas sweet now let’s boost the front Wings luminance to give some shape and the blue affects the windscreen and that’s a good start so what’s next I’m going to deliberately under expose the foreground driveway to give that dark tones quality to the image using a linear gradient I’m going to drag the filter to the top of the car but before
we mess with the exposure we need to intersect the mask with the subject and we can see only a gradient of the car is selected but we actually want a gradient of the foreground minus the car so let’s invert the selection and now we can drag the exposure all the way down maybe a touch of blacks Preset for some punch now for some Moody Black atmosphere in the background creating a new linear gradient mask let’s just drag the top portion of the image and just overlap with the previous mask but this time let’s push the dehaze into
the negative by about minus 50. and the same with the clarity and texture and I think one more gradient in the radial format just to lift the exposure of the sky even more and that looks pretty moody but the car isn’t quite matching the rest of the image so let’s create a mask just for the car using the subject selection now we can bring down the blacks the highlights to about the same and D Haze to really enhance the dark tones Preset one final mask for the rear of the car using a radial mask just overlapping
with the rear quarter intersect the mask with the subject and then invert the mask so the car isn’t affected and we can add some negative dehaze to really make the car separate from the background one final adjustment to the color grading so it isn’t just a red car on a black and white background choosing the Shadows wheel I’ll introduce some teals into those shadows and darken the luminance of those Shadows to finish going from a raw image with Muddy green foliage in the back to a Punchy dark tone sports car edit and just out of Interest let’s just see how these settings sync over to another image using this London bus selecting The Source image and the bus picture click sync and making sure all of the masks I created are selected and boom pretty good I think I’ll just reset the luminance on the Shadows wheel and also bring the luminance down on those Reds because I think they’re just a bit too bright but we can push the saturation up for some deeper Reds and these light streaks from a passing car
would probably benefit by bringing back the oranges and yeah that looks pretty good to me here’s another image syncing those original settings from the Ferrari image this works on a street portrait start again start again by desaturating all of the color from the image and let’s bring down the global exposure by just over a stop boost the white to about plus 40 and the Shadows can come down same two with the highlights and because this is a street scene perhaps some detail using the texture
and Clarity sliders now the gentleman playing the pipes is a little flat so let’s create a mask of him using people select and pretty good apart from the pipes need to be included in the mask so using the brush tool let’s just get those bits too great now let’s boost those whites to really make him stand out and a touch of contrast using the black slider along with some Shadows now let’s bring some color back into the scene some orange skin tones and a touch of Blues in his shirt
looking good now for some more mask work a linear gradient and drag up from the bottom we’ll intercept the mask with the subject and of course invert the selections so he is not included and let’s drag the exposure slider all the way down some blacks again at around -13 now for a gradient in the background overlapping and will once again intersect with the subject which thankfully includes the microphones as well which is great invert the mask and bring down the exposure by around three stops of light
some shadows and brightening the blacker hair reduce down the clarity and I think one more gradient for behind his head just to bring back a little background detail so it doesn’t look too unnatural intersecting once again with the subject and bringing up the exposure and whites a spot of color grading in the highlights adding some greens for that Spanish afternoon grading subject isolation in Moody dark tones so let’s see a version of dark tone isolation using this marathon runner in amongst a crowd of Spectators so let’s
get rid of those colors and see which ones we actually need and which we can discard and of course we need the oranges for the skin tones and as he is a bumblebee we’ll need those yellows maybe some magentas which are usually present in skin tones as well and same with the Reds but let’s change those yellows to a slightly warmer hue now for some under exposure boost the whites Shadows down and the same with the highlights as this is a street scene again let’s give it some grit so let’s sort the foreground
not forgetting to intersect with the subject and then we can darken things down some blacks now for the top gradient overlapping with the previous one intersect with the subject but let’s remove the effect from the other Runners as they’re just a distraction I missed out his foot but you get the idea all the usual adjustments but let’s bring back some detail in the sky which looks a bit unnatural using a radial filter some lift in the exposure some whites and one final mask on the main
attraction the Bumblebee and Lightroom detects him pretty well some whites a bit of contrast and perhaps one more radial filter to blend in the effect with the floor foreign and that’s how we can edit dark black preset tones into images that were taken during the middle of the day it’s all about light manipulation and separation of the important information from the less important and if you enjoyed
Download this Lightroom Black presets Easily Free


thanks for this blog