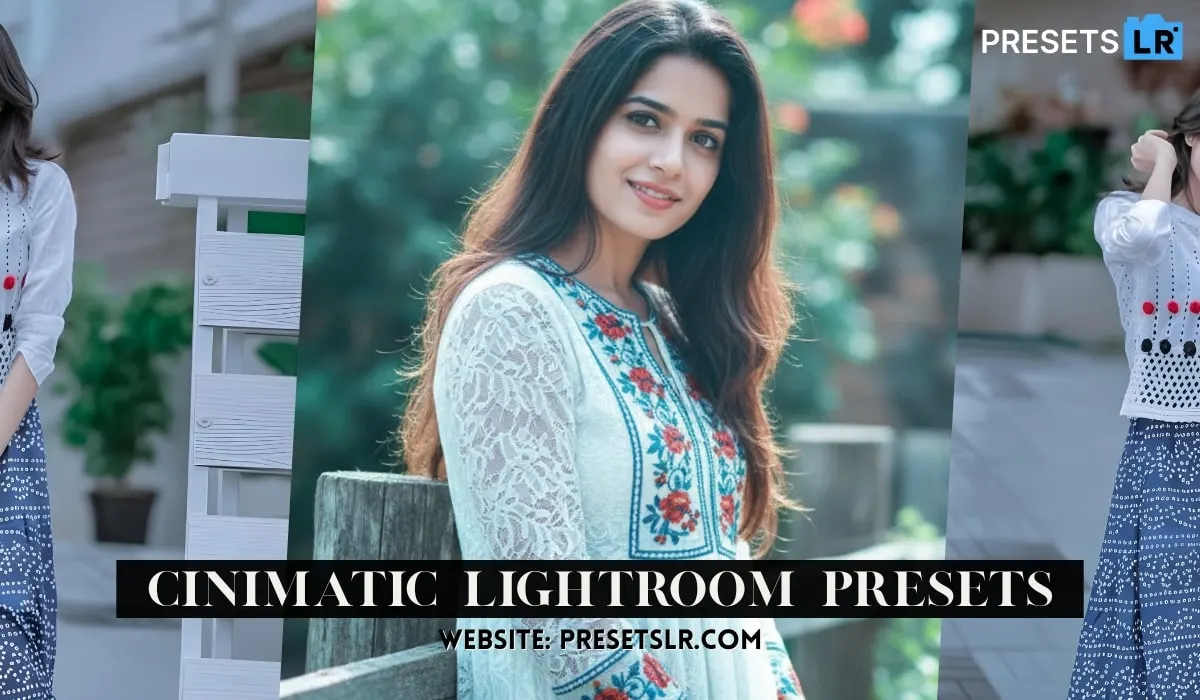
Cinimatic Street Photography Lightroom Preset
Hello friends, how are you? hope you all are well. In today’s article I am going to give you Street Cinimatic Photography preset lightroom. Using this Street Cinimatic Photo preset you can edit your photos in one click. You can definitely download it for free without any problem. So, let’s see how to Use & download this amazing preset.
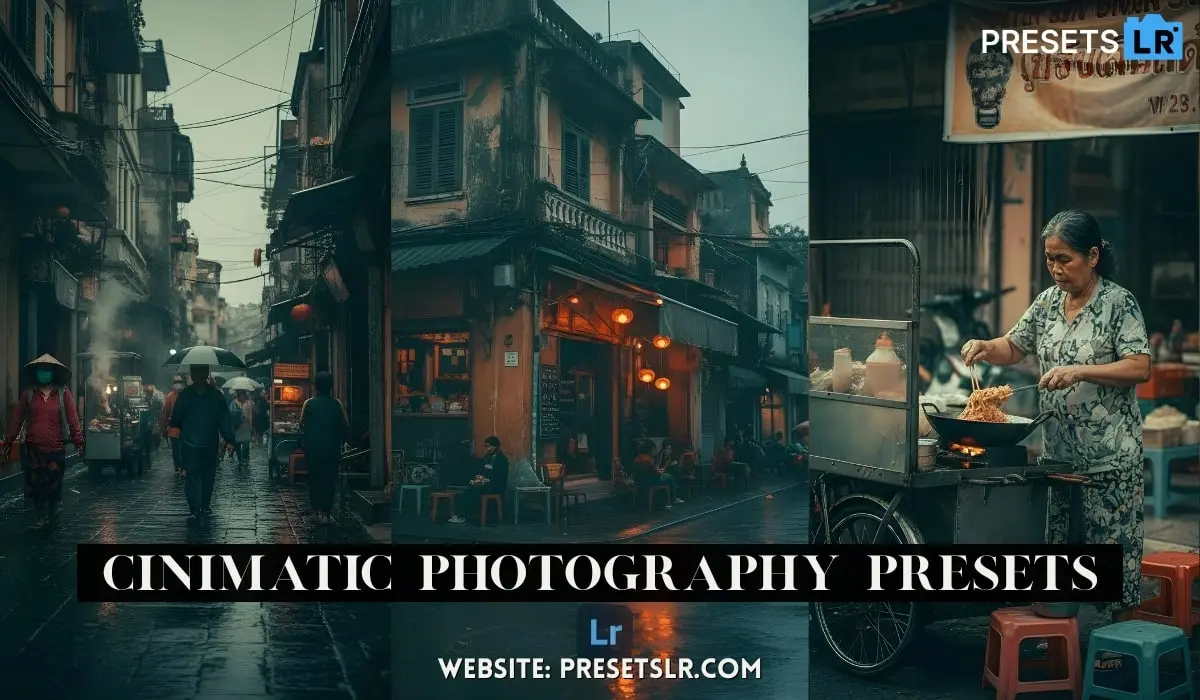
Inside the Lightroom CC mobile app, through three or four simple steps, you can color grade your ordinary-looking street photos into this kind of cinematic color tone inside the Lightroom CC mobile app.
Let’s see how.
Alright, so this is the photo that I have added inside Lightroom.
How to Use Cinimatic Street Photography Preset:
Open / Import Presets in Lightroom Mobile
Method 1: If Your Preset is a DNG File
This blog very helpful for create Wedding Photos Editing presets easy step
Step-by-step:
Download the preset (DNG file) to your phone.
Open the Lightroom Mobile app.
Tap “+ Add Photos”.
Select “From Files” or “From Gallery” (wherever your preset is saved).
Choose the DNG preset file → tap Add.
Open that DNG photo inside Lightroom.
Tap on the three dots (⋮) on the top right.
Choose “Create Preset”.
Name your preset → tap Save.
Lightroom Mobile Presets features
One-tap photo editing
Consistent color and style across images
Adjustable intensity (slider to fine-tune the preset)
Works on RAW and JPEG photos
Batch editing (apply preset to multiple photos)
Professional color grading and tone control
Enhances workflow speed and efficiency
How To Create This Street Cinimatic Presets in Lightroom Application.
Download Cinimatic Lr Preset
Creat Cinimatic Lightroom Photo Step By Step:
This Presets I Use for My Own Street Photography Picture
Now in the first step, we will apply a filter on it.
So go inside Presets, and here in the Premium Filters section, if you look towards the bottom, you will see a folder called “Cinematic 2.”
Go inside it and apply this CN1 filter.
So a very nice look will come on the photo.
Now the look has come.
Now we just need to work on light and masking.
For that, we will go inside the Edit tab.
In Light, first of all, the exposure of the photo is a little too high, so I will reduce the exposure slightly, around -3.
Now the highlights also look a bit high to me, so let’s reduce them a little, around -25 is fine.
Let’s recover the shadows a bit.
Due to that, the contrast is reducing a little, so for that, we will increase the whites slightly and decrease the blacks a little.
This will create contrast in the photo.
After that, the light in the photo still looks a little high, so for that we will use the curve tool.
By the way, do not touch the curve tool too much.
If you really want to use the curve tool, then make changes only in the mid-tones.
So here, I will bring the mid-tones slightly downward.
This will balance the exposure of the photo.
I’ll tap done here.
Now the look of this photo is quite good, meaning the colors are pretty good, but the colors look a little too saturated to me.
So I will reduce the saturation a little, around -15.
What you should do is not touch the colors too much, otherwise the look of the photo will get ruined.
You can only slightly adjust the saturation.
But I will do a little more adjustment because in the highlighted area, the yellow tone looks a little less to me.
So I will go inside Color Grading, then go inside the highlight wheel, and move it slightly upward.
That’s good.
Now comes masking.
For that, we will go into Masking.
First, we will create a Linear Gradient mask, and we will create this mask from the bottom-right corner.
Now what we will do here is reduce the light, meaning reduce the exposure.
That’s it.
When we reduce the exposure of a photo, the colors increase, so we need to slightly reduce the saturation as well.
Good.
Now we will duplicate this mask and place it on the other side, meaning the bottom-left corner, like this.
That’s it.
So we have darkened the bottom corners a little for perfect create cinimtic touch photo.
But now we want to add a vignette effect.
For that, we will create a Radial Gradient mask like this and place it toward the top.
It will look like light is leaking from the top, so we will place it upwards and invert it.
Now we will adjust its size so that the vignette effect does not fall on our subject.
And we will slightly reduce the feathering.
That looks good.
Again, here we will slightly reduce the saturation to balance the colors.
That’s good.
Now for the light leak effect, we will create one more Radial Gradient mask and place it here.
We will increase the feathering so that the mask looks natural.
I have adjusted this nicely.
Now we will increase the light, so it will look like light is leaking from the top.
And we will slightly increase the temperature because we have maintained yellow color tones in the highlighted areas.
That’s it.
This is complete.
We will apply it here.
Now the next step is optional.
If you need it, you can follow it; otherwise, your photo is already done.
Now we will adjust a little sharpening.
So go inside Details and increase the sharpening slightly.
Now we have one more photo on which we need to do editing.
So we will copy all these settings, including the masks, and go to the next photo and paste them.
That’s it create easily your street style photo to cinematic photo
So this color tone has come on this photo as well.
In this way, you can very easily color grade your street photos into a cinematic color tone.