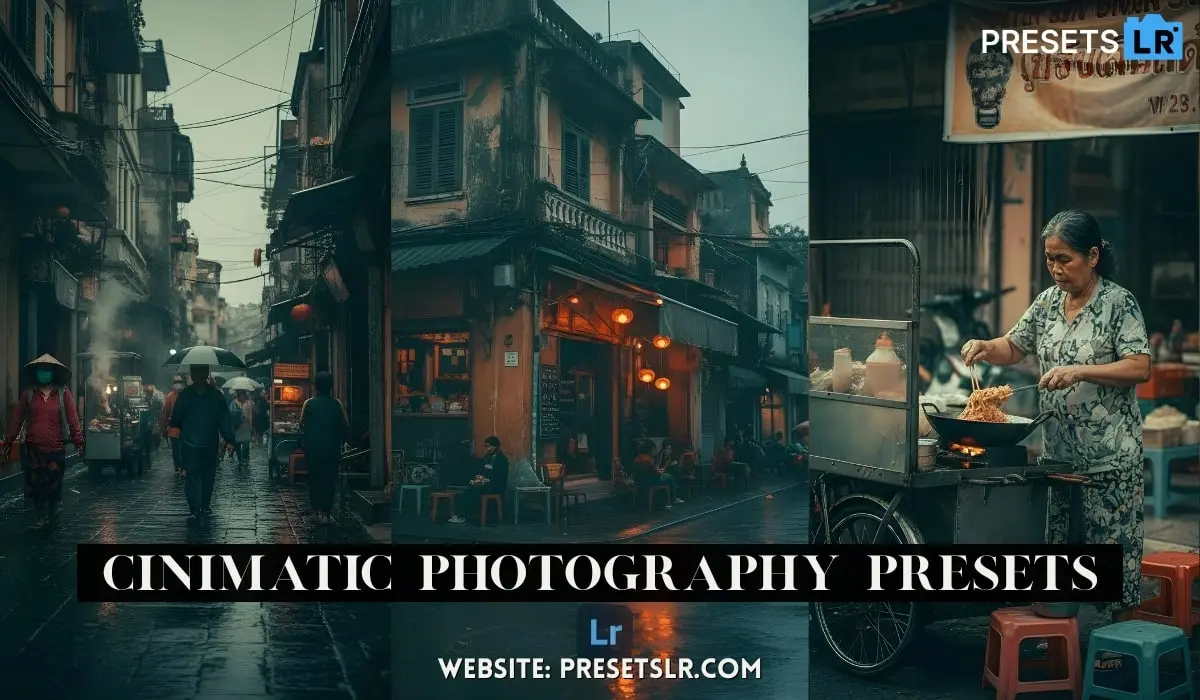
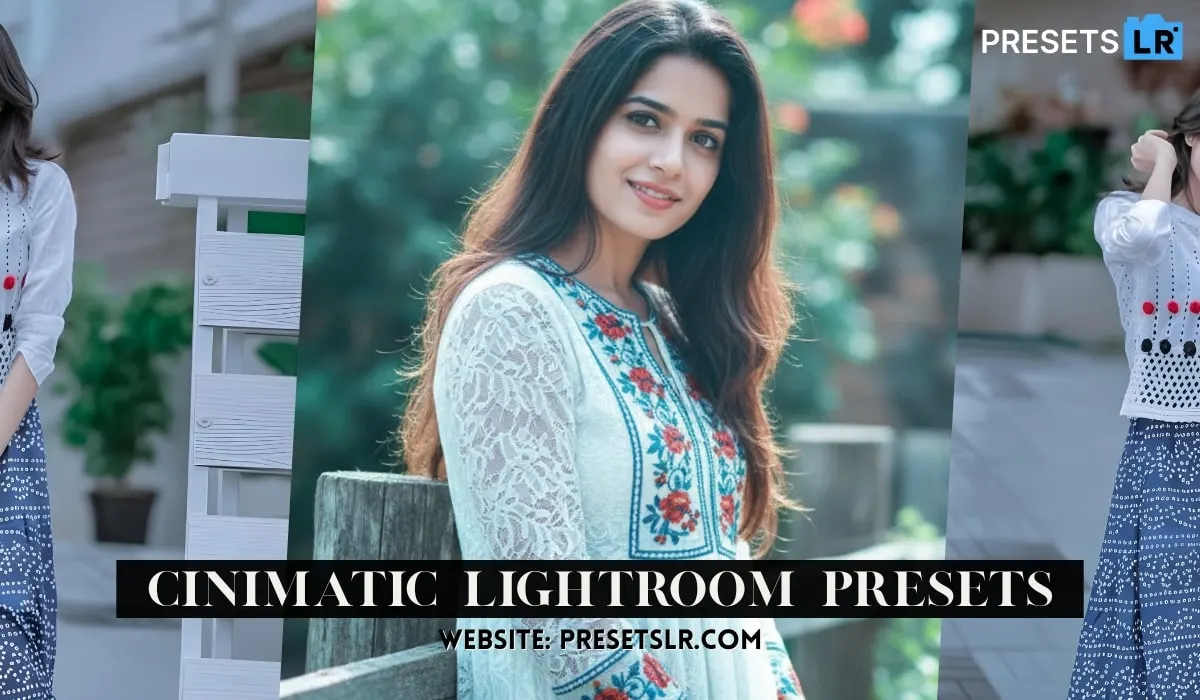
How To Edit Cinematic Photos in Lightroom Mobile- Lr Cinimatic Presets Free.
Hey guys! All the images you’re seeing on the screen right now—I edited all of them on my phone, and it took me just a few minutes.
If you also want to learn how to edit photos like this professionally on your mobile, then this video is for you!
Today, we’re going to use Lightroom Mobile, which is completely free.
And trust me, if you understand the basics I’ll show you today, you’ll be able to edit any photo at a professional level.
So without wasting any time, let’s get started!
1. Open Image & Adjust Light
First, open your photo in Lightroom.
We’ll begin with some light adjustments:
In this photo, the exposure is too high, so I’ll lower it slightly.
Always keep the contrast a bit on the negative side for a softer, cinematic look.
Lower the highlights slightly to preserve details.
The shadows are too dark right now, so I’ll increase them a bit.
Reduce the whites slightly because there’s too much brightness in the image.
And increase the blacks slightly so you keep detail in the dark areas.
Even with just these changes, the photo looks quite different.
Check this out: Before and After.
2. Color Adjustments
Now let’s go to the Color tools.
I want a bit of a cool, blue tone in this image:
So I’ll reduce the temperature slightly.
I’ll also bring down the tint a bit to reduce greenish tones.
Increase the vibrance slightly to make the colors pop.
Also, increase the saturation a bit.
Look at the difference in the Before and After—it already looks much better!
3. Masking – Advanced Cinematic Touch
Next comes the most important part — Masking.
First, I’ll add a Linear Gradient from the bottom of the image.
Then, I’ll lower its exposure so the bottom area looks a bit darker and more cinematic.
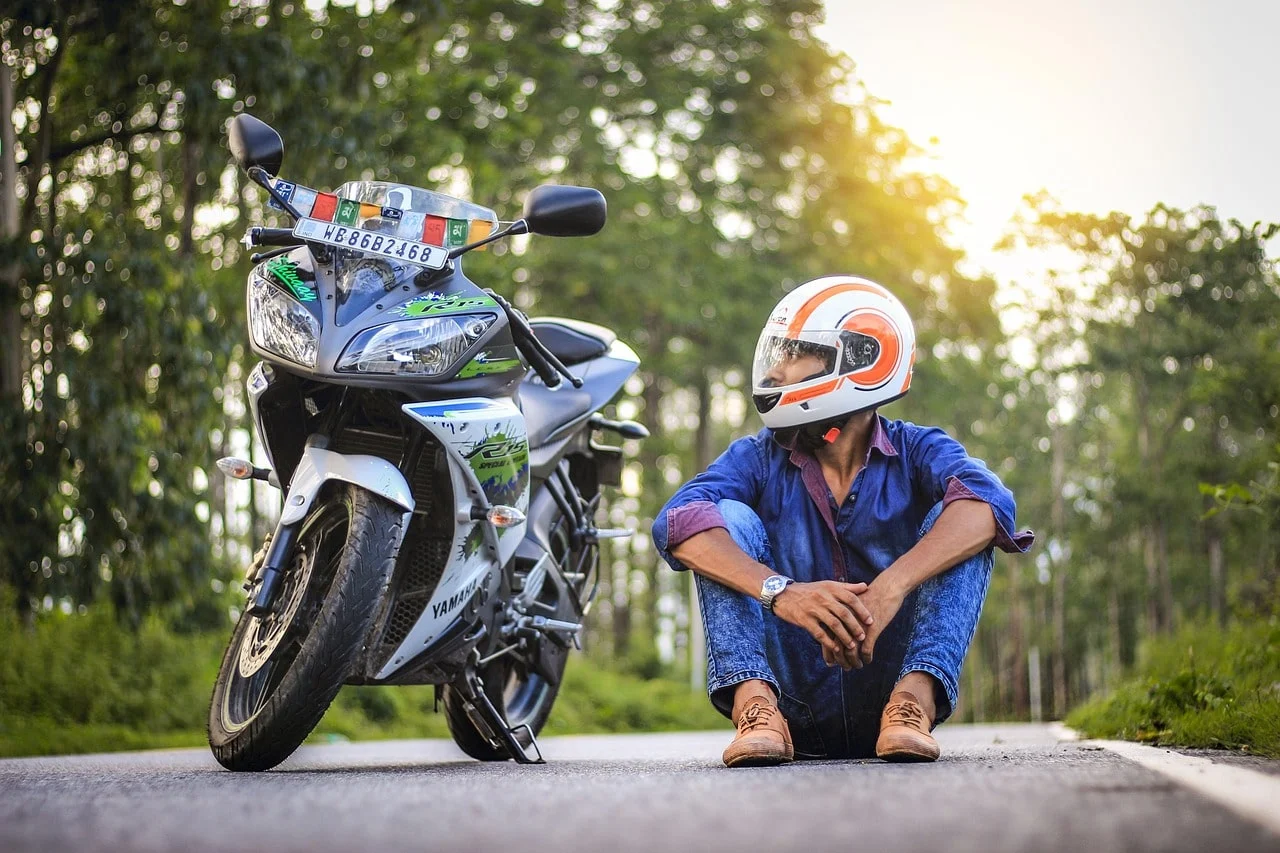
Now I’ll use the Brush Tool to select the waves in the image.
I’ll increase the exposure and whites a bit so the waves pop out.
Then, I’ll slightly lower the temperature and tint to keep the cool look.
Under Effects, I’ll reduce the clarity a bit for a softer feel.
Check out the Before and After — there’s a huge difference already!
4. Further Fine-Tuning
I’ll add another Linear Gradient, subtract the subject from it, so the background becomes darker and the subject stands out.
I’ll lower its exposure a bit and also reduce clarity and dehaze.
In the Light section, I’ll slightly increase blacks and shadows for better details.
Using the Brush Tool, I’ll select the color and subtract it from the subject to avoid any color effect on the subject itself.
I’ll lower the exposure and temperature a bit.
Here’s another look at the Before and After — it’s looking so much more cinematic!
5. Color Grading – The Cinematic Feel
Now let’s get into what truly gives a cinematic feel: Color Grading.
For the shadows, I’ll add a blue tone by setting the Hue around 20–21, increasing the saturation slightly, and reducing luminance a bit.
For the midtones, I’ll add a subtle color, increase the saturation a bit, and lower the luminance slightly.
For the highlights, I’ll add a warmer tone, increase saturation, and brighten the luminance a bit to bring some glow.
Then I’ll go to the Color Mix panel, select the blue color, slightly reduce its hue and saturation, and increase its luminance for better balance.
6. Final Touches
If the subject still looks a bit dark or dull, I’ll go back to Masking, select the subject, and slightly increase exposure, blacks, and shadows.
Finally, under Effects, I’ll reduce clarity a bit and add a subtle vignette to keep focus on the center of the image.
You can even add a bit of grain if you want a more cinematic, less digital feel.
And that’s it! The photo is fully ready for Cinimatic Preset.
Download Free Cinimatic Lightroom Free Preset
Preset Setting –
This Cinematic Lightroom Preset Are DNG Image form and this is perfect match for your image.
this is best effective Cinematic Preset.
This Is Free Cinematic Blue tone Lightroom Presets
🔆 Light Settings
Exposure: 0.00
Contrast: -4
Highlights: -100
Shadows: +48
Whites: -97
Blacks: -21
—
🎨 Color Settings
White Balance (WB): Custom
Temperature (Temp): 0
Tint: +1
Vibrance: +28
Saturation: -13
—
✨ Effects Settings
Texture: 0
Clarity: +83
Dehaze: +4
This preset produces a cool, moody aesthetic with vibrant reds and soft skin tones, while keeping the background slightly desaturated for contrast. If you want, I can help you turn this into a Lightroom preset file (XMP/DNG) or guide you to recreate it manually in the Lightroom app.
Check out this Before and After Look—the difference is amazing!