How To Import Lightroom Mobile Presets In Easy Steps & Use Preset
So you have some new Lightroom Mobile presets that you want to import and actually start using. Well, here’s exactly how to do it.
Simple Steps Add Lightroom Preset In Lightroom Mobile Application
Step 1 — Downloading and Importing Your Presets Inside of Lightroom Mobile
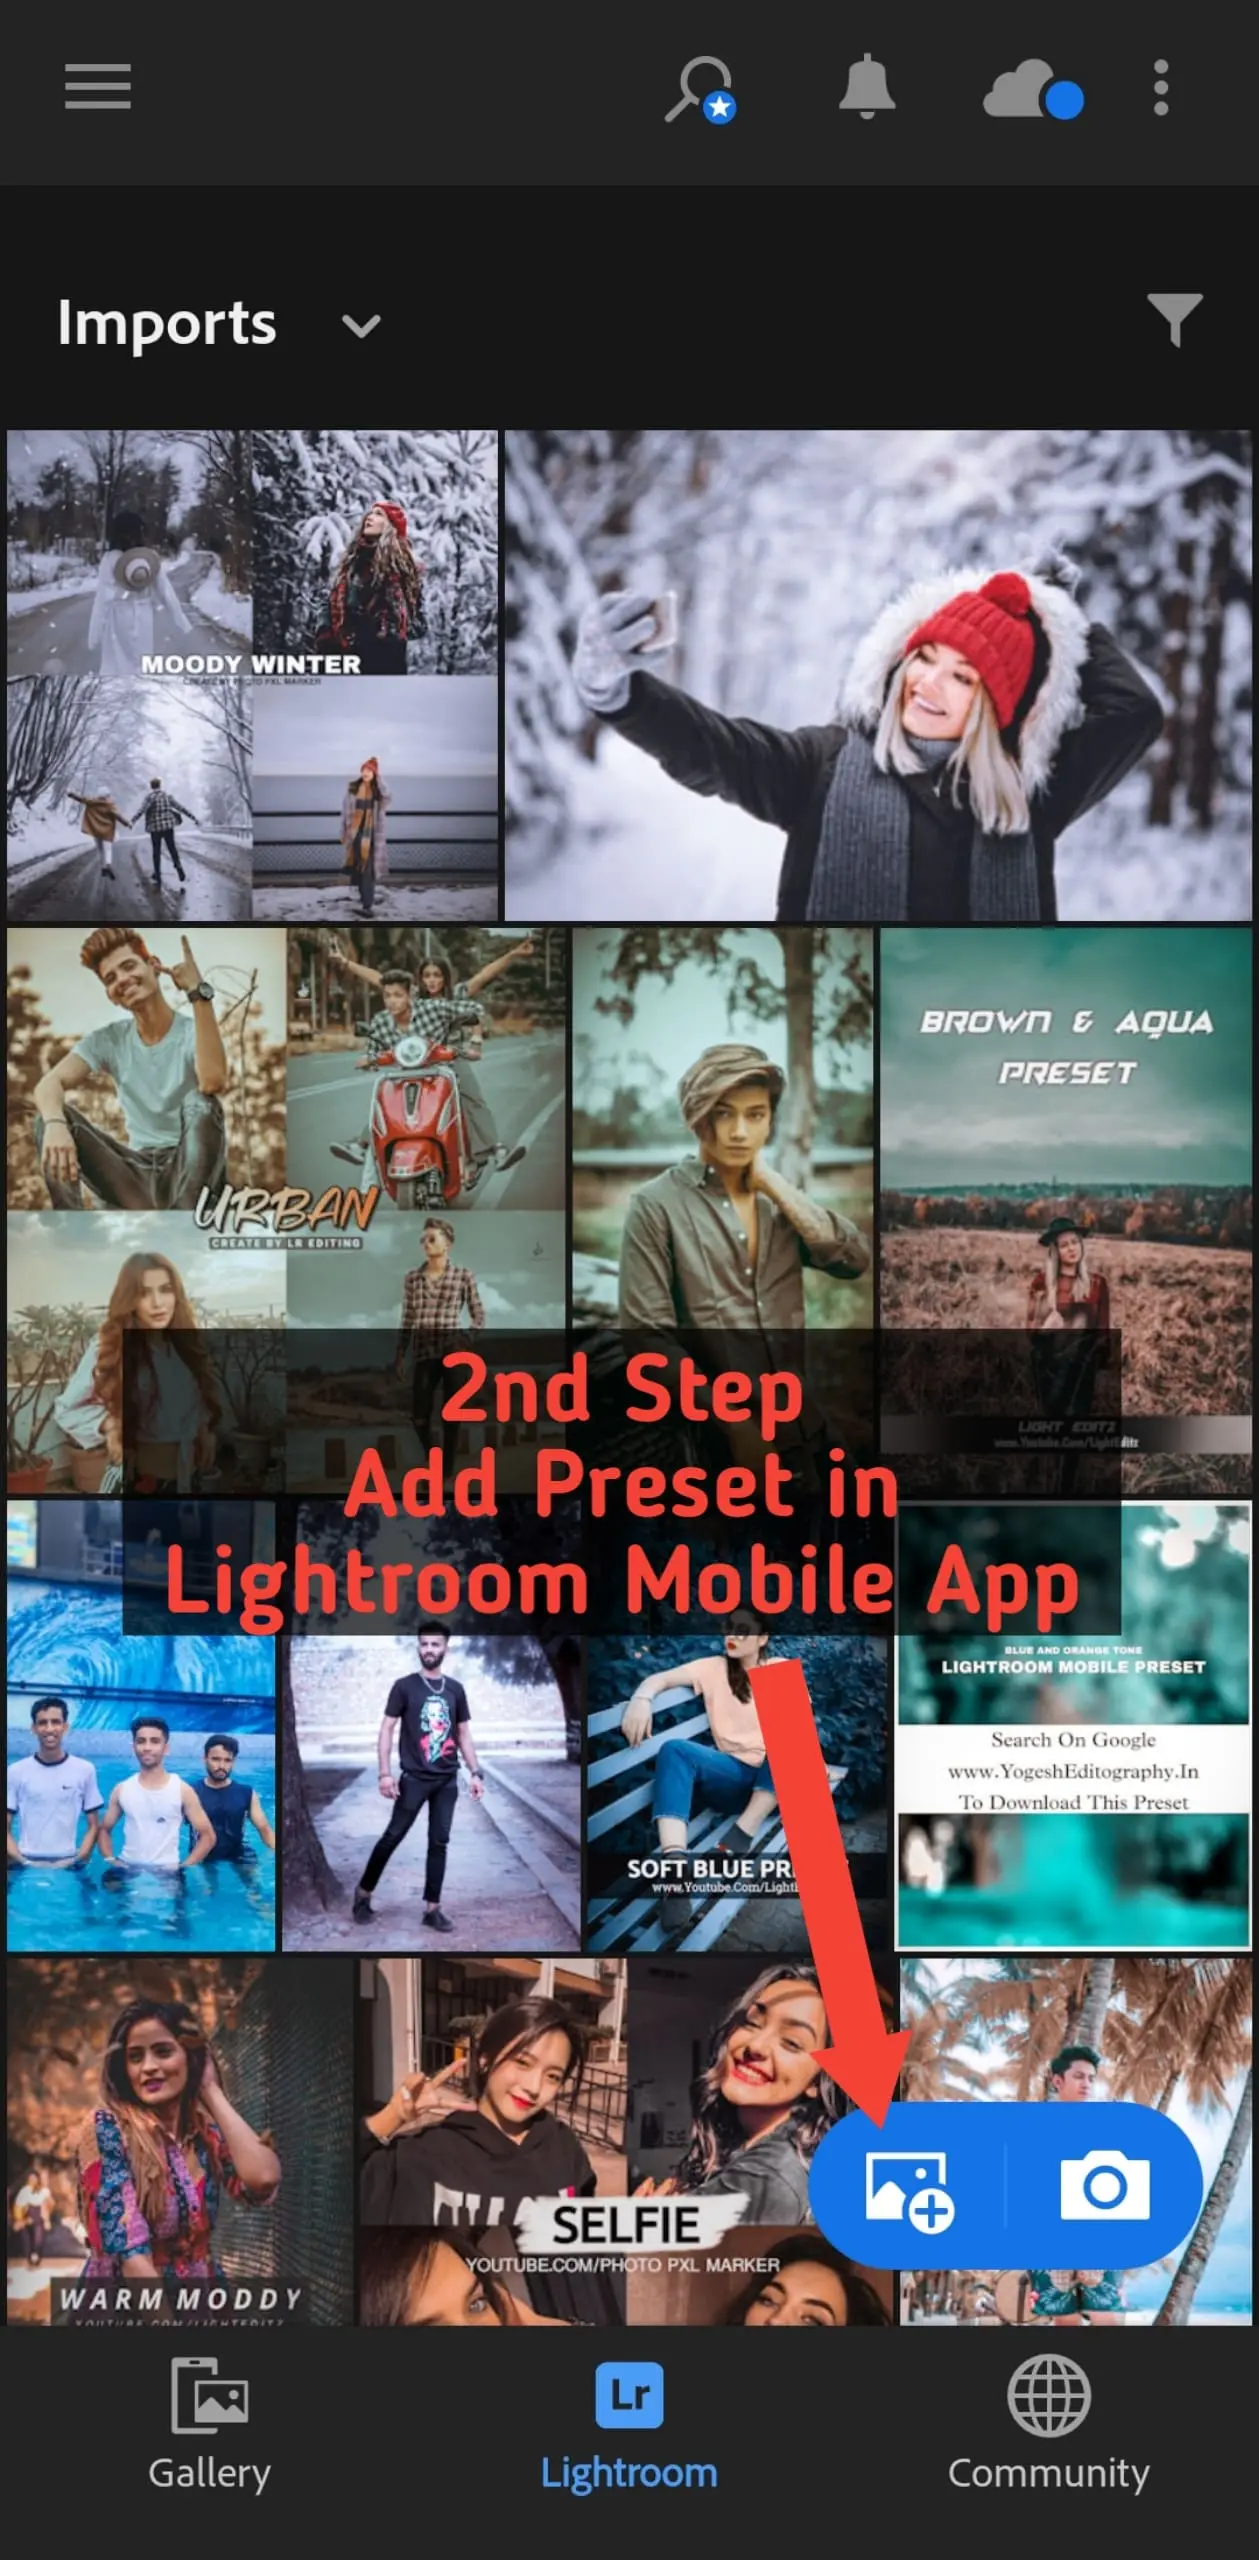
The first thing you’ll need to do is import your DNG files, which include the presets that you just downloaded.
To add these files, simply press on the “Add Image” icon, then select “From Files.” Now, depending on where you downloaded your presets to, your location will vary, but I definitely recommend using something like iCloud, Google Drive, or Dropbox, just because it’s really easy to access your presets that way.

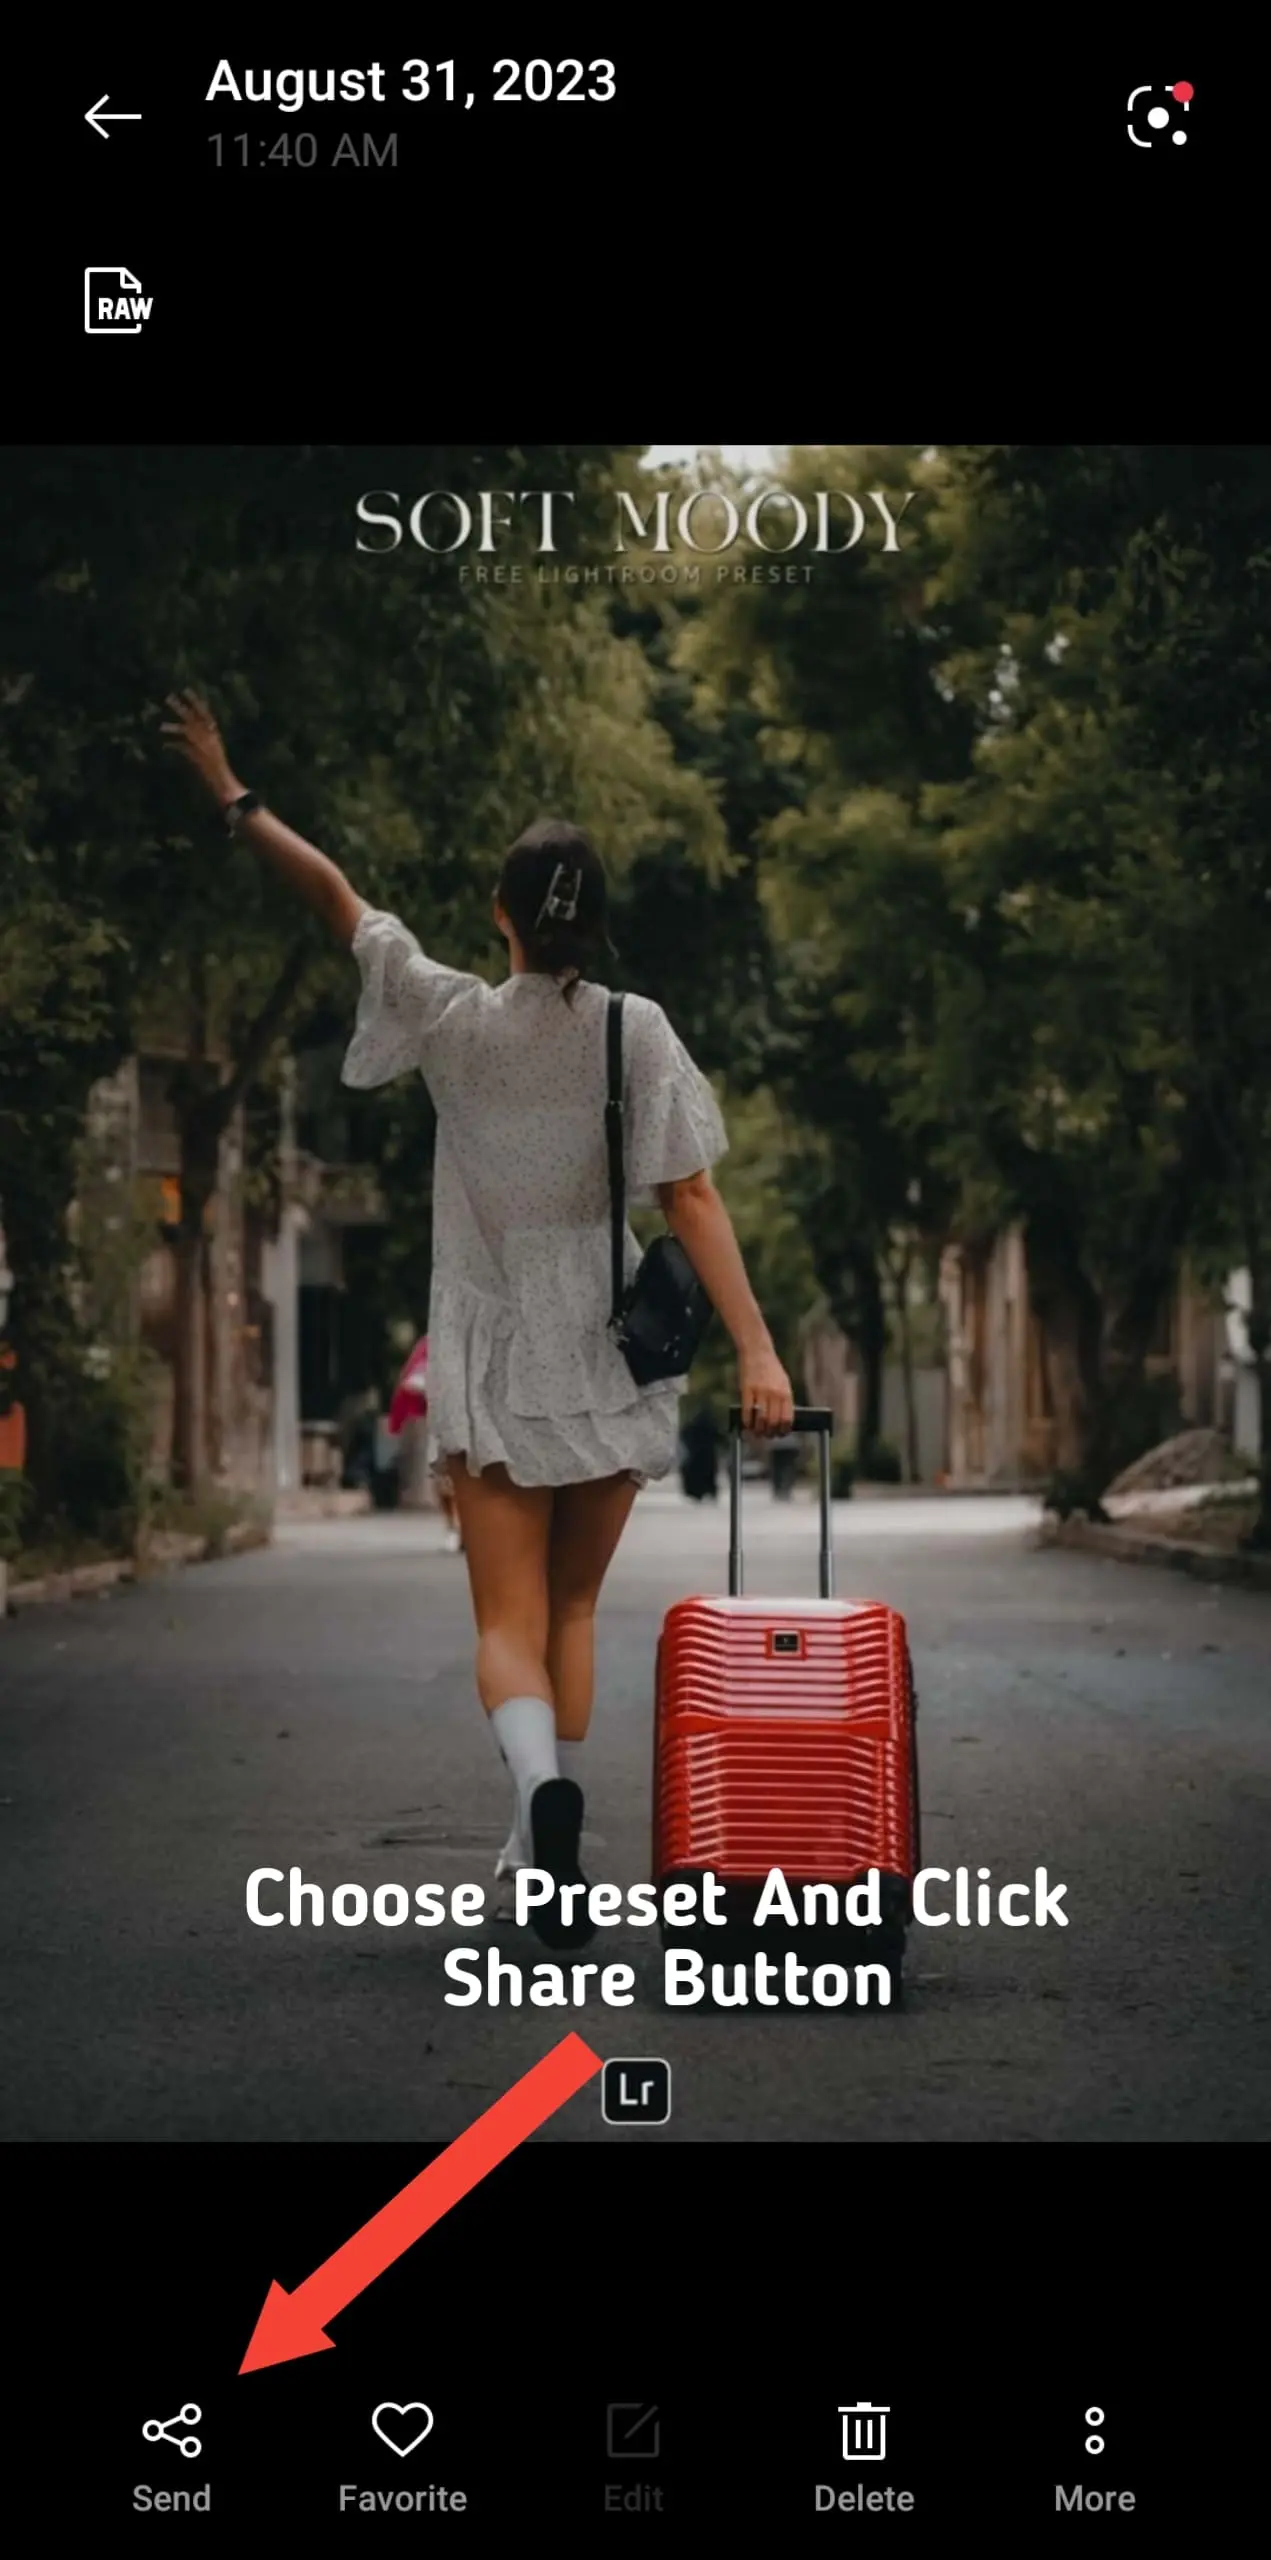
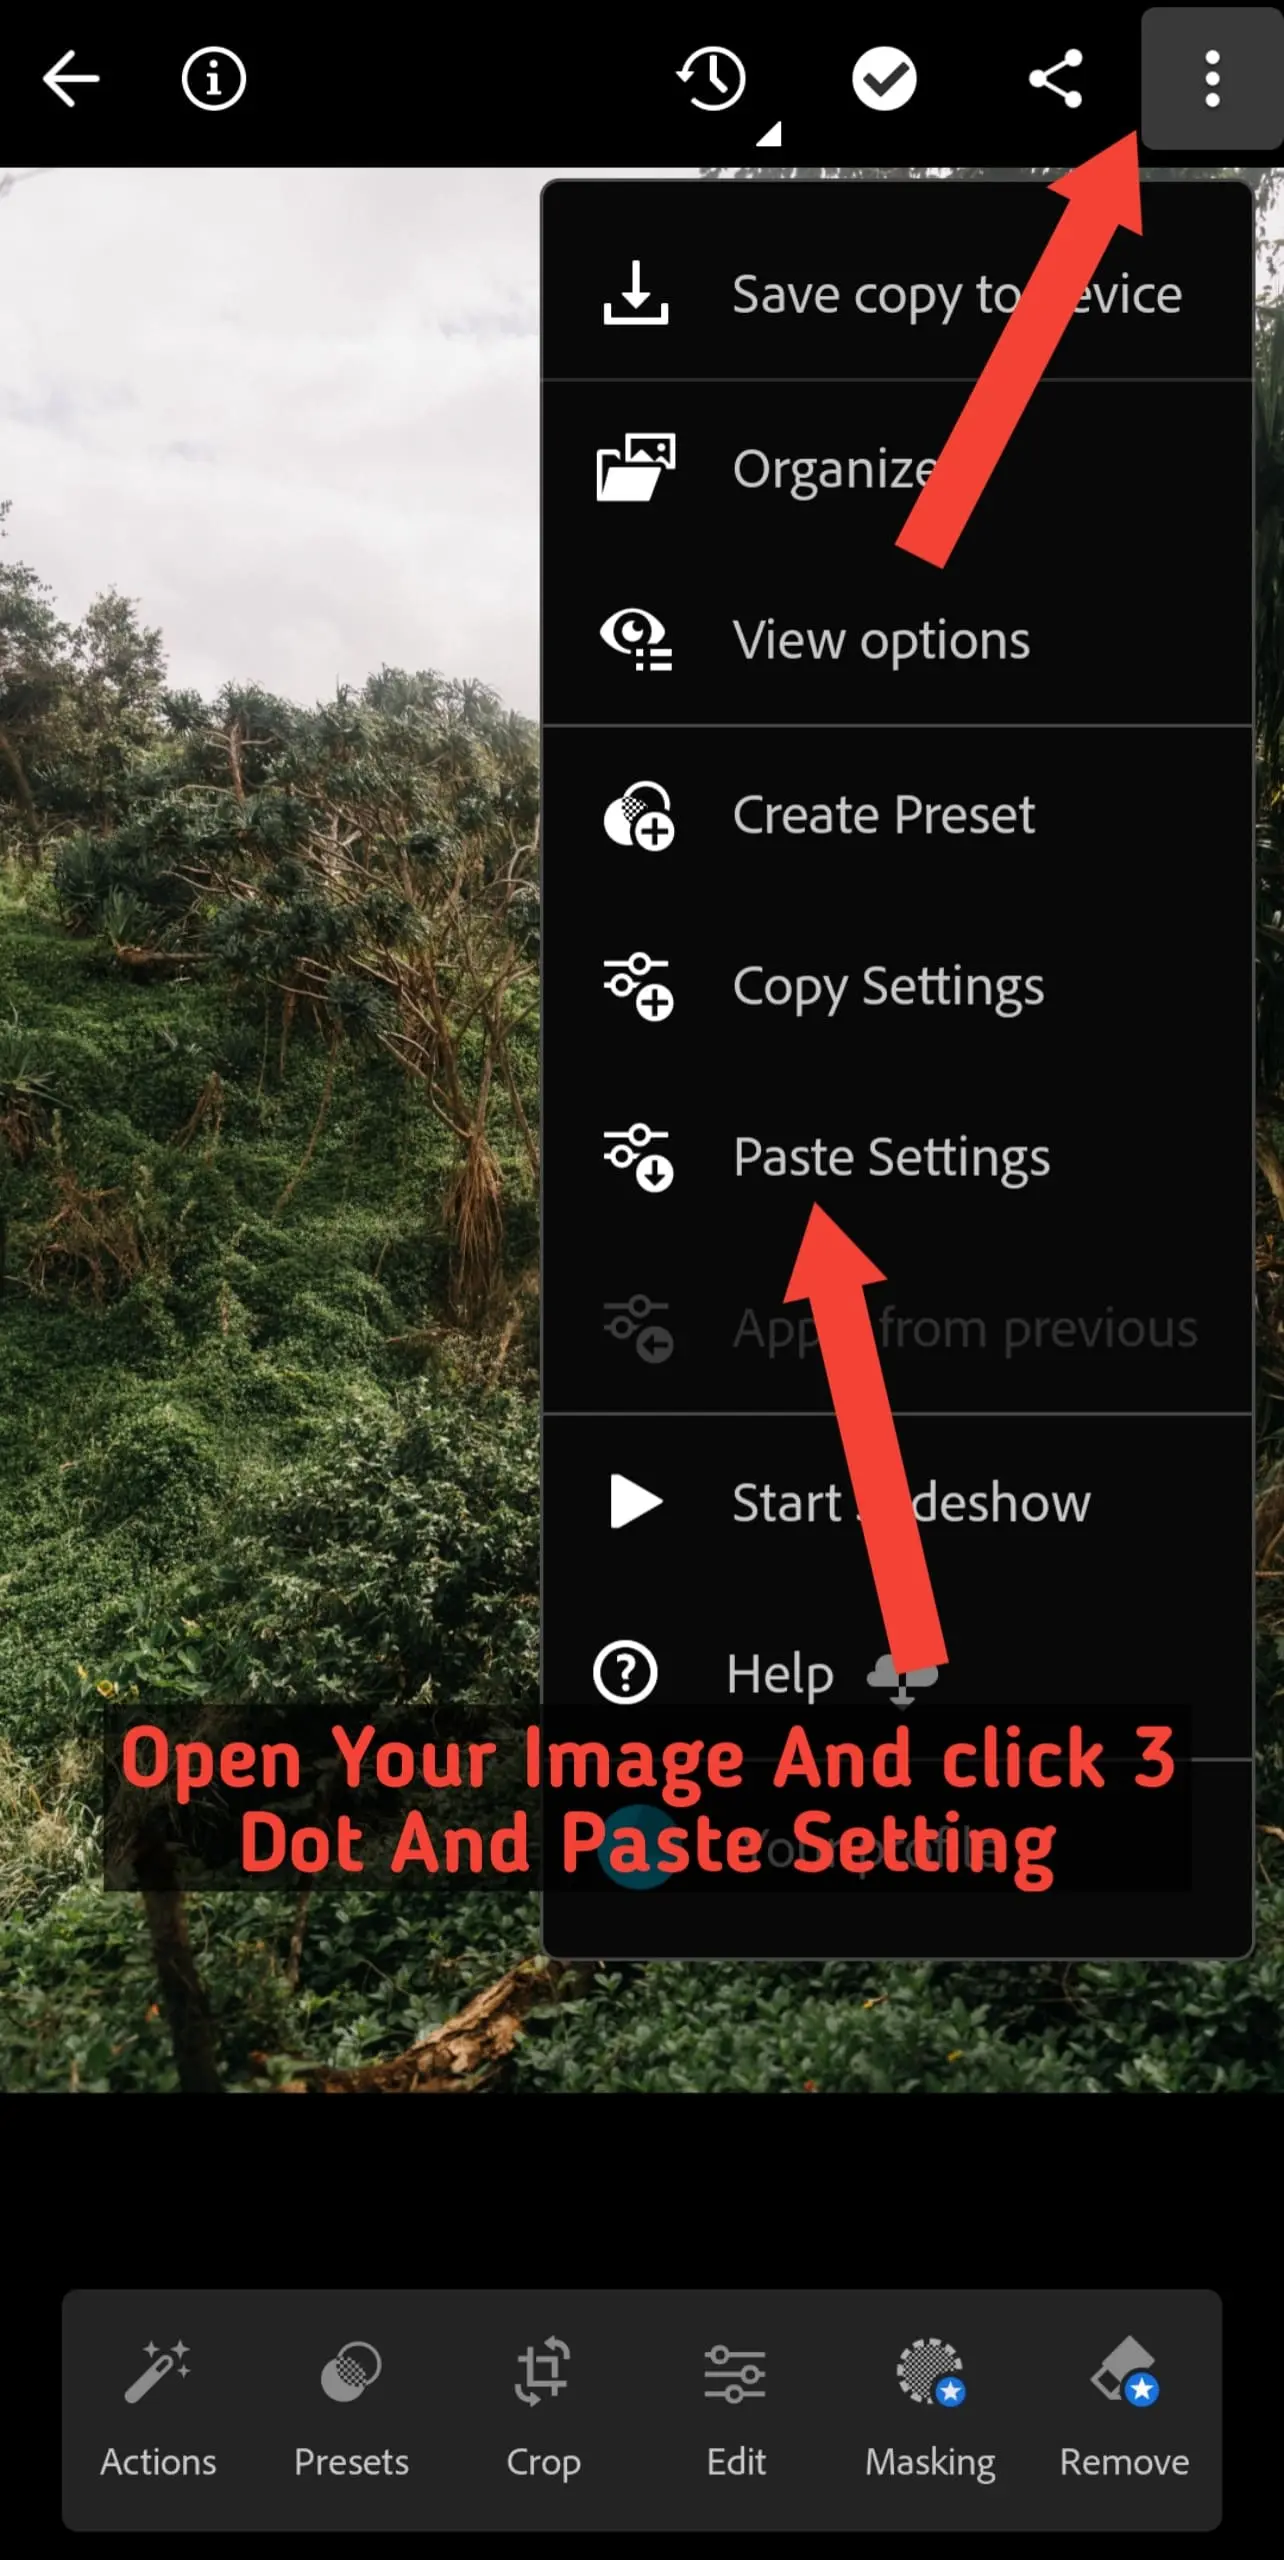
In this case, I’m going to select Dropbox. But if you don’t see Dropbox or Google Drive on your screen, you can find them by just pressing on the three dots in the upper corner, going to “Edit,” and then making sure that Dropbox, Google Drive, or whatever other app you want to use is actually turned on here. Otherwise, it will not be visible or Simple Step Open Your Gallery And Choose Preset DNG Image And simple Click Share Button And Choose Lightroom Mobile Application:
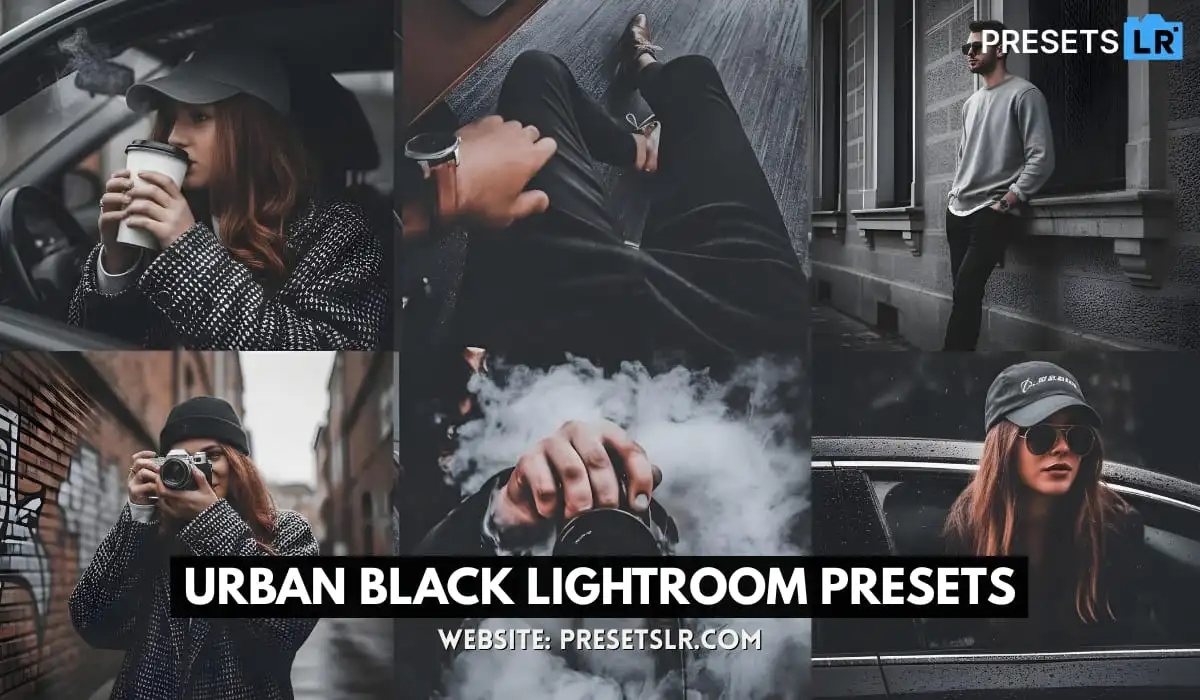
So, with that, I’ll press Dropbox and then navigate to the folder with my presets. Now, in this case, I’m going to be downloading my Lightroom Preset Starter Kit, which you can actually get as well down in the description below, totally for free. It includes 12 free editing presets covering some of the most popular editing styles that I’ve talked about on this channel. Just by signing up to my email list, you’ll get instant access to that. So again, the link is down below.

How To Use Lightroom Preset on Your Image
Now, whether you’re using my preset pack or something else that you found online, you’re going to likely end up with two different types of presets. The first one is XMP, and the second one is DNG. Now, you don’t really need to worry about what that means, but if you’re importing to Lightroom Mobile, you just need to look for DNG.
So, in this case, I’ll select DNG. Inside of this folder, I have all of the DNG files, which include the presets. You can import these one by one, but why would we do that when we can save ourselves some time and select everything at once?
By clicking on the three dots icon, go to “Select,” then we can go and click on every single photo that we want to import into Lightroom Mobile. With that complete, press “Open,” and all of your DNG presets will import into Lightroom.
Step 2 — Turning Your DNG Files Into Usable Presets
Now, all of your imported DNG files will be found within the “All Photos” album. Then you’ll click on one of the files that you want to create a preset from.
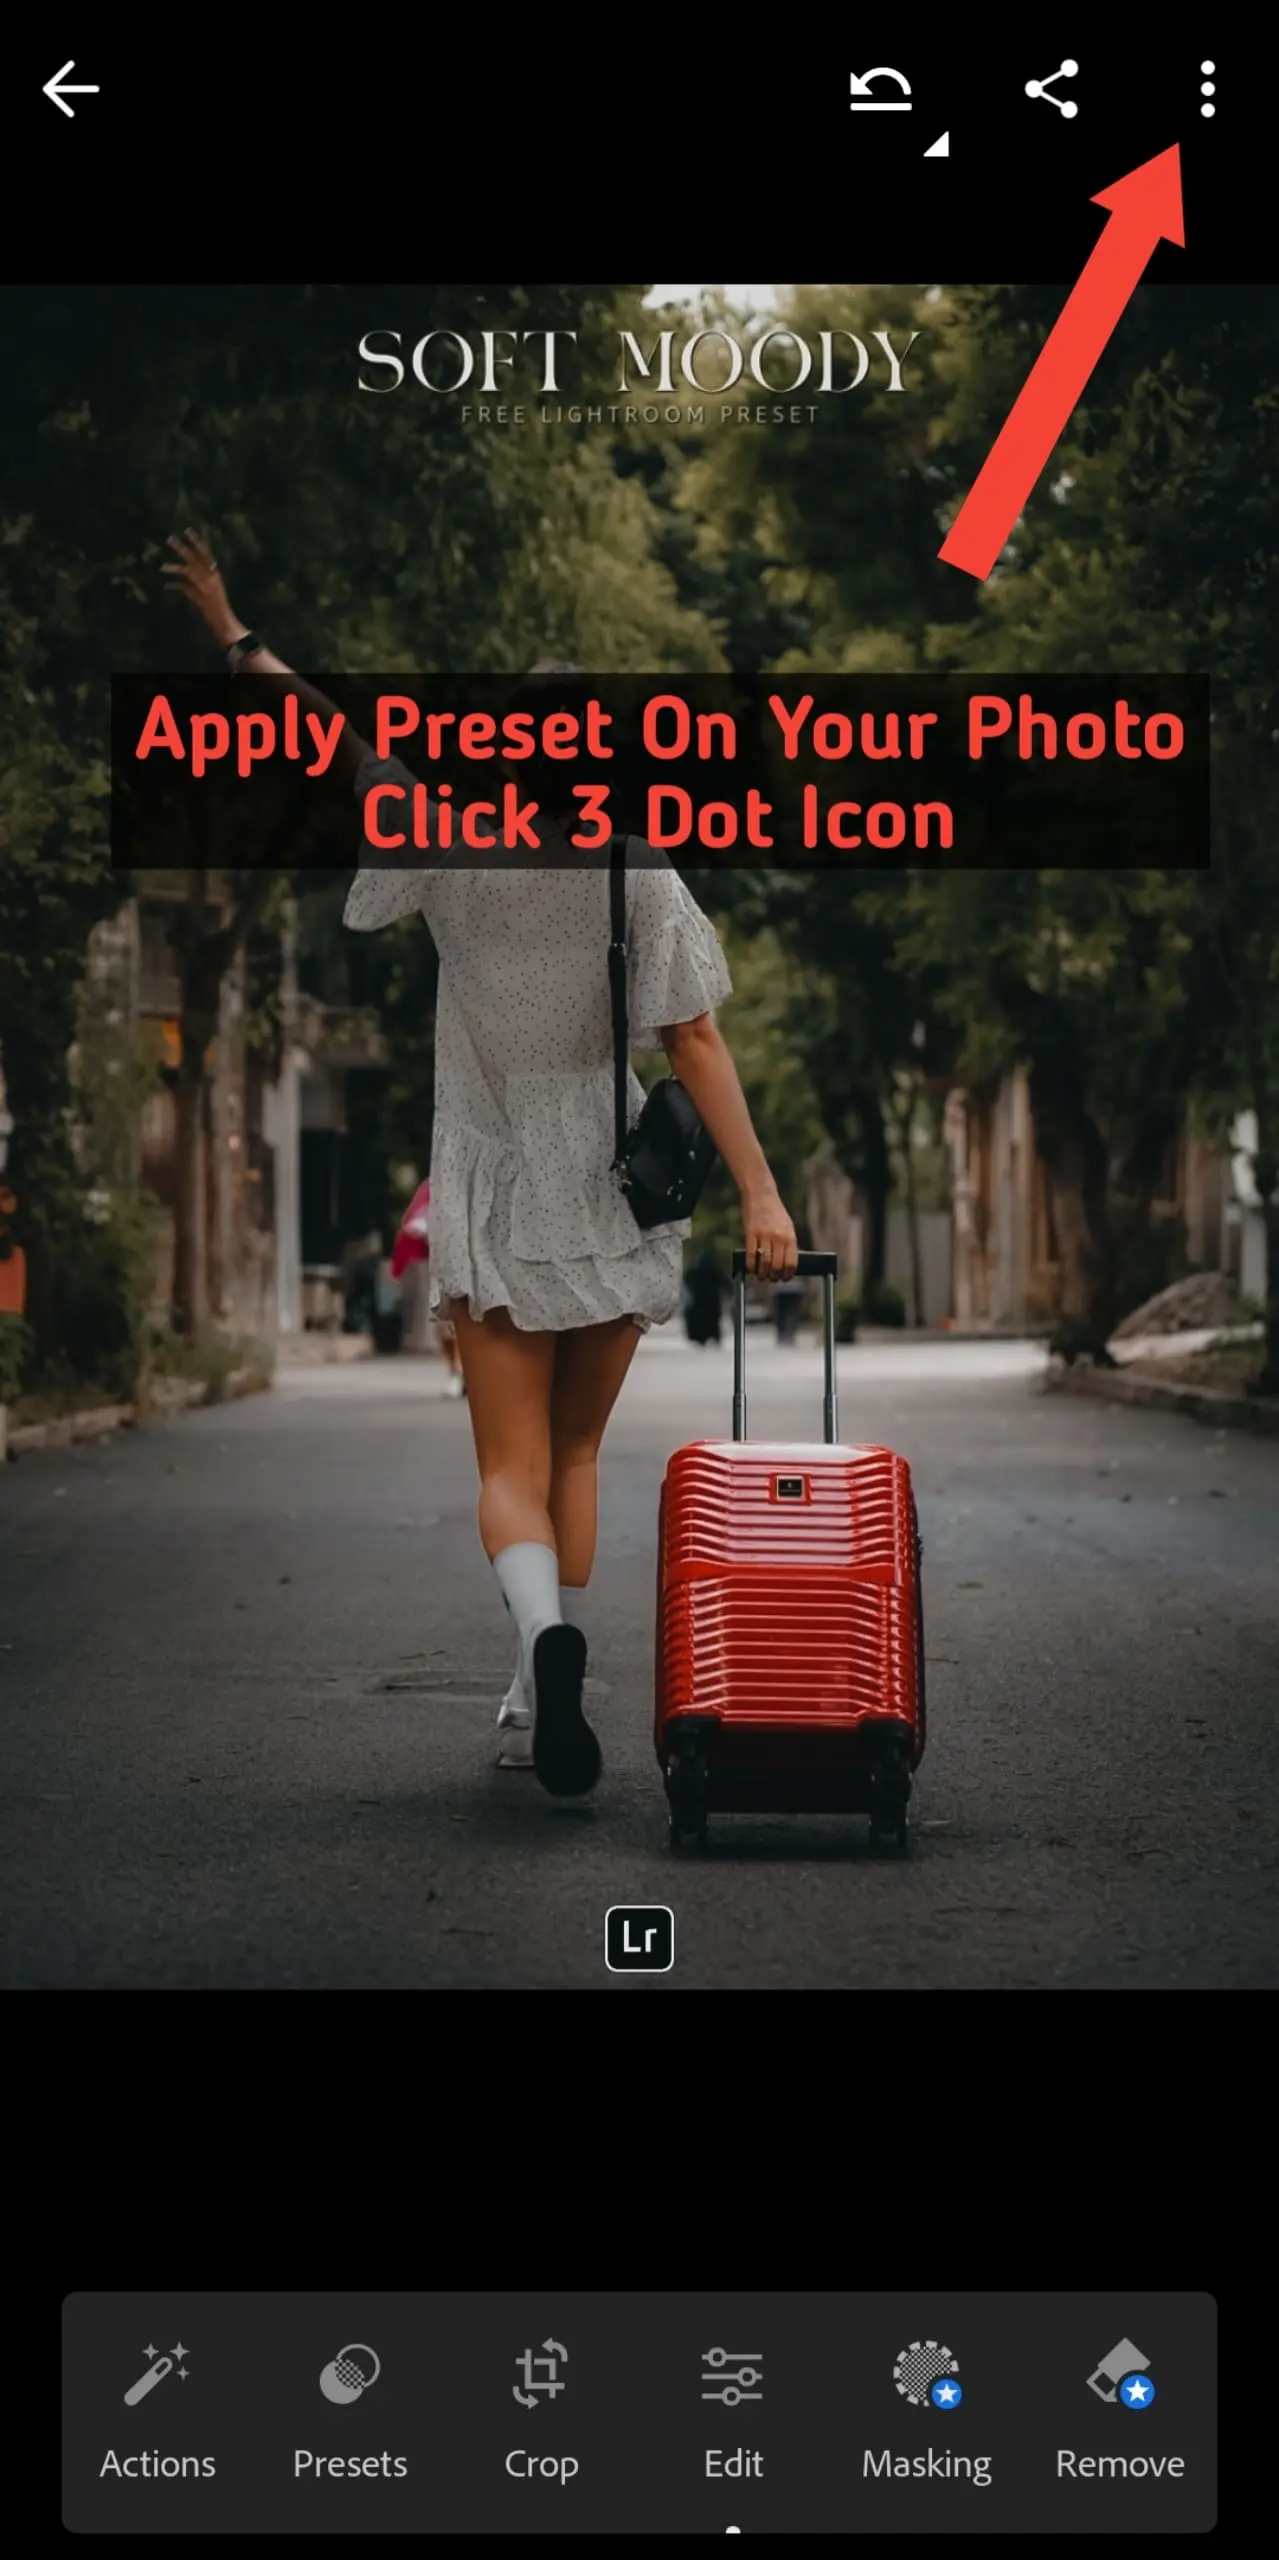
With that image open, go up to the three dots icon in the upper corner, and then select “Create Preset.”

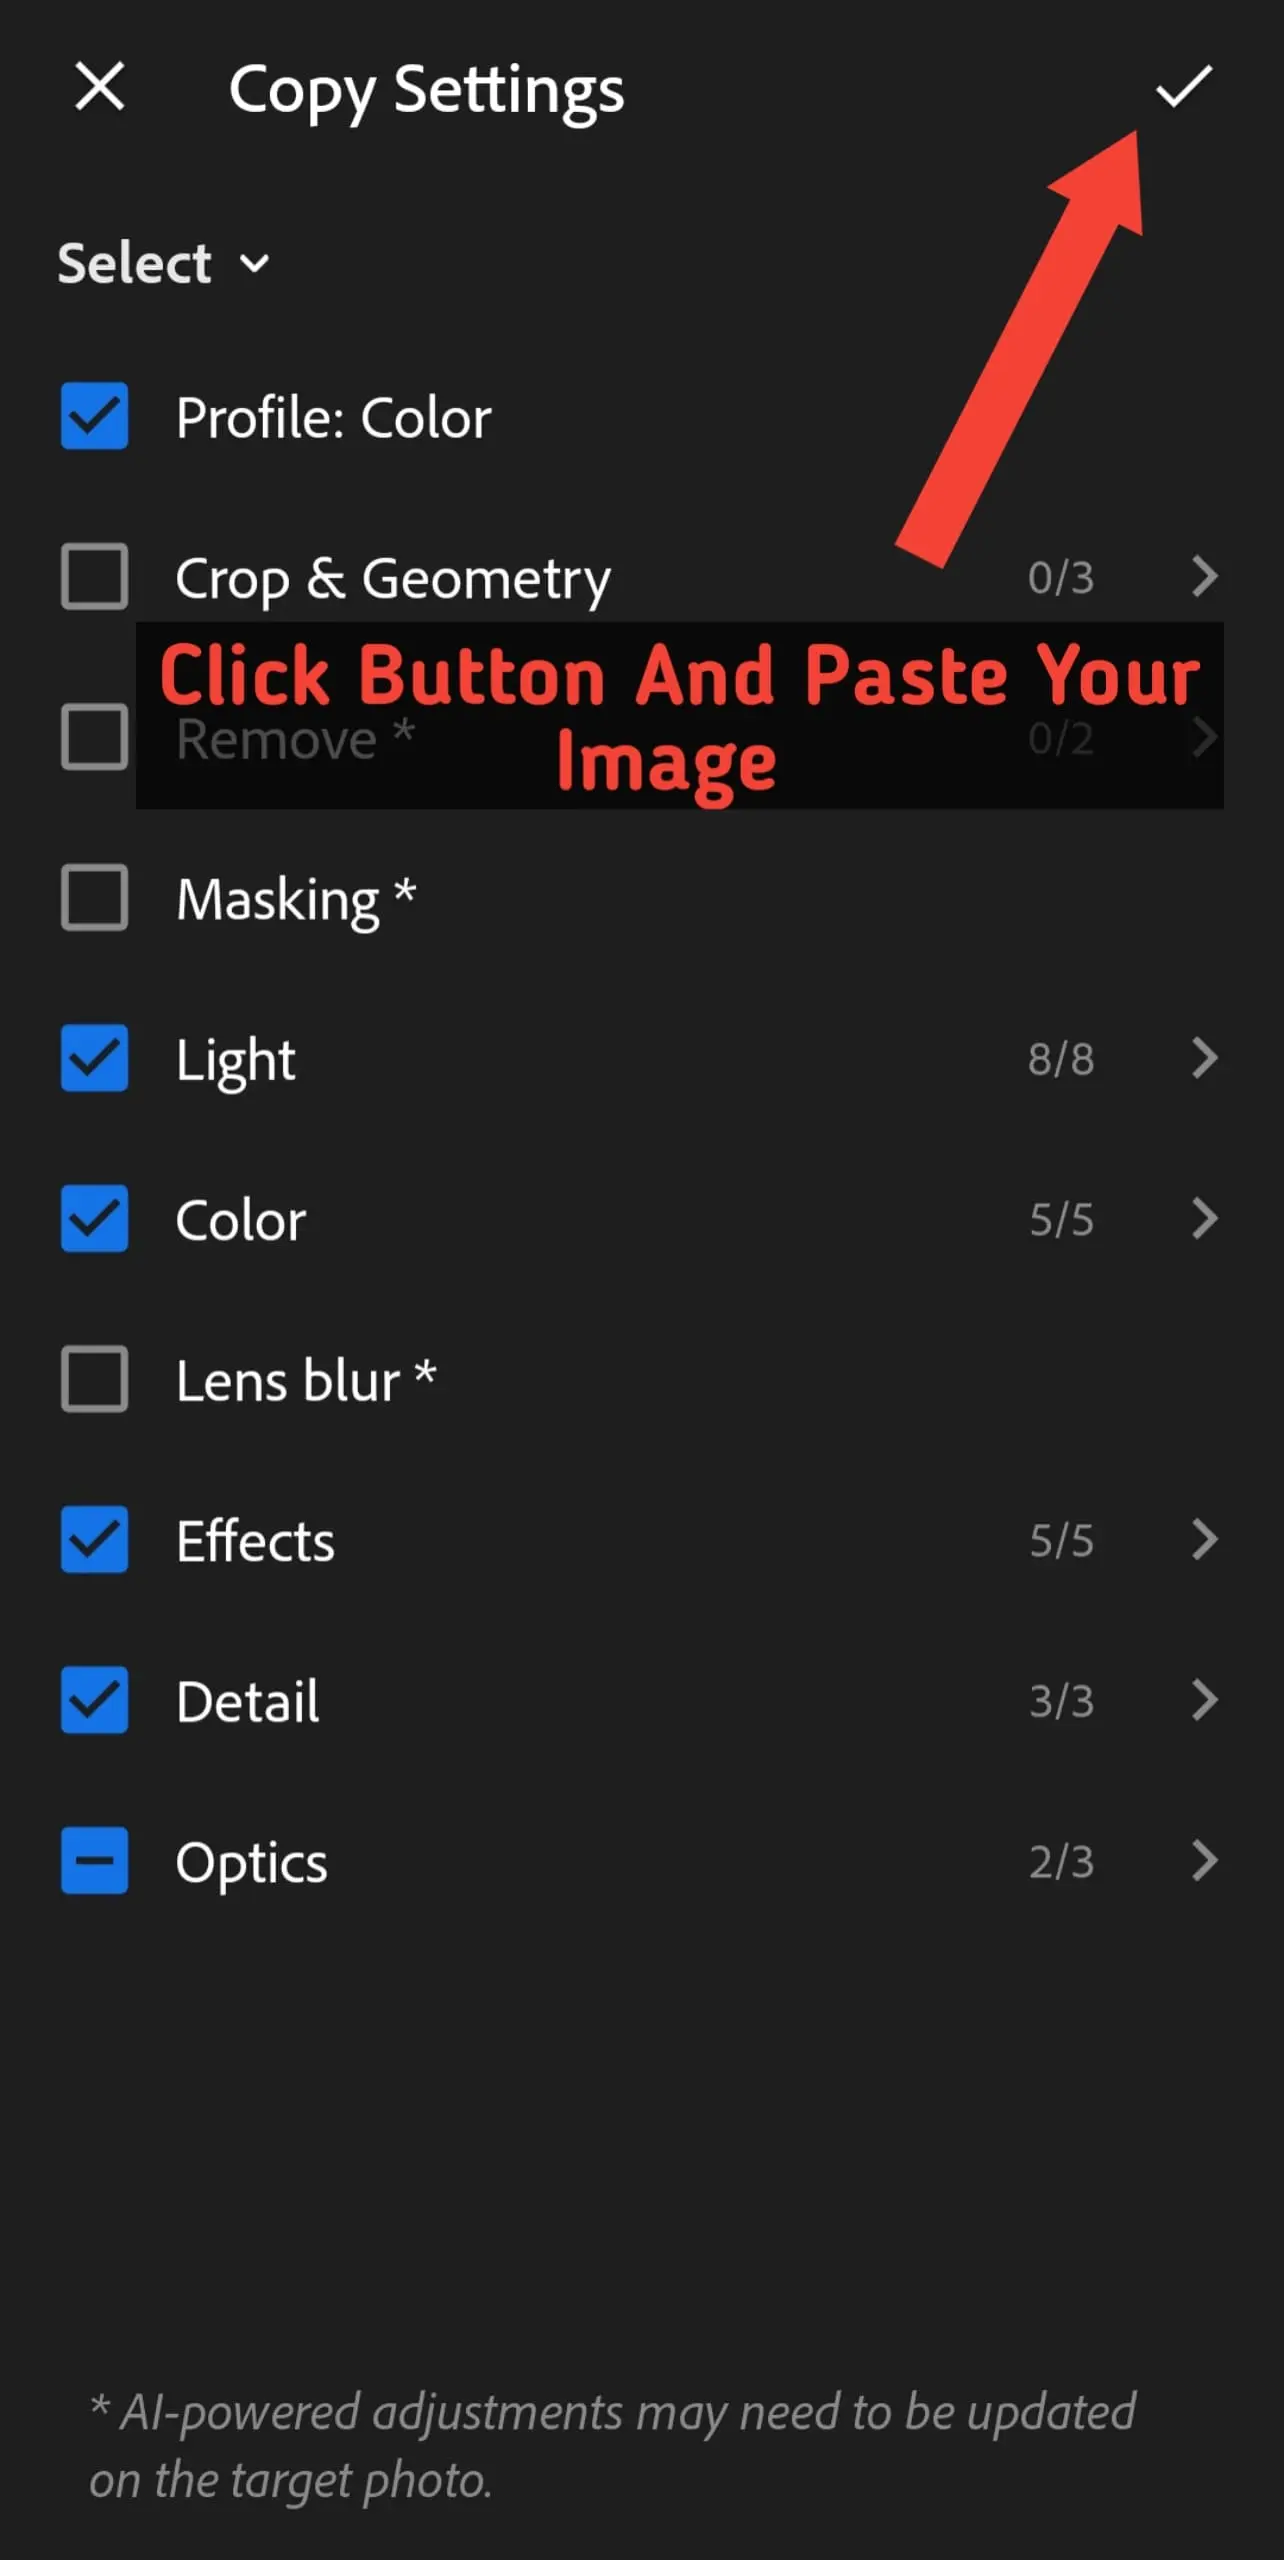
For the preset name, I usually recommend naming it the same name that came with the preset. In this case, I’ll call it “Soft Contrast Curves.” Then make sure that all of the following options are checked off as you see here. This way, all of the settings that were added to your DNG file will be saved in your preset.
From there, you can organize where your presets will be. By default, it’s within your “User Presets,” but by clicking on the drop-down arrow, you can go and select “Create New Preset Group.” I’ll call this “Lightroom Starter Kit,” since that’s the preset bundle that I’m going to be downloading. Then I’ll press the checkmark to save that group.
Then I’ll press the checkmark once again to save that new preset in my new group.
Step 3 — Creating a Preset From All the Other DNG Files
So, that brings us into Step 3, which is creating a preset from all the other DNG files as well. Basically, what you have to do is just rinse and repeat the same process once again.
Just like before, you’ll select your image, click on the three dots in the upper corner, press “Create Preset,” give your preset a name, add it to your group of choice for organization, and then press the checkmark to save your new preset.
Step 4 — Applying Your Preset on your Photo
Once you’ve created all of your presets, that brings us into Step 4, which is actually applying your preset on to a photo.
Selecting an image from your library, just click on it and make sure that you’re in the Edit module of Lightroom. Then select the “Presets” option.

Now, within your library, you’re going to navigate to the folder that all of your presets have been saved in. I’ve gone through and already saved all of the presets from this bundle here in one folder, so then I can just click on any of the presets that I’d like to use.
Then, by clicking on the preset, all of those adjustments are added to your photo, and just like that, you have edited your images really quickly using your new preset.
Now, if you’re a paid Adobe Creative Cloud subscriber, this process is a lot easier because you can just upload your presets to Lightroom CC, and then it will automatically sync with Lightroom Mobile so all of your presets are done automatically for you.
So, with all that, if you already have a preset pack that you’re using and you want even more free presets to take advantage of, then make sure to check out my Lightroom Starter Kit for free down in the description below, which includes 12 free presets to edit some of the most popular editing styles that I’ve talked about on this channel.