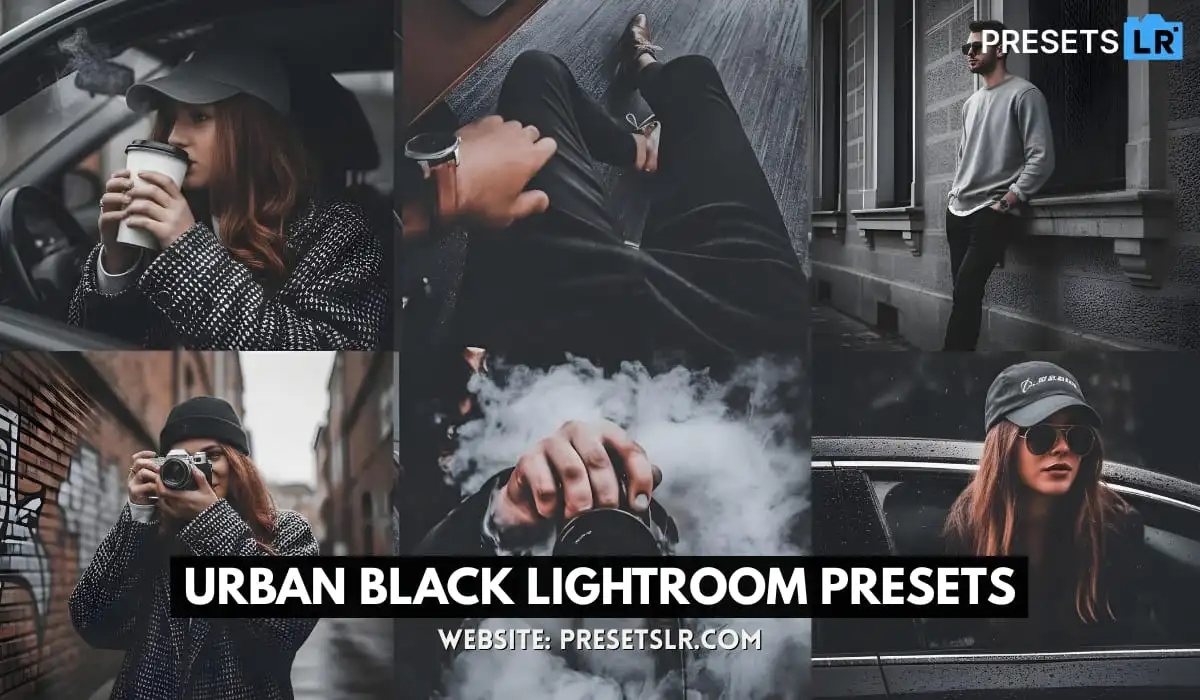
. Apply Presets to Your Photos
Once the presets are imported or pre-installed, follow these steps to apply them:
Note: Lightroom mobile accepts presets in .dng format, which are essentially photo files that have preset settings applied to them.
Using presets in the Lightroom mobile app can help you quickly enhance your photos with a consistent style or effect. Here’s how you can apply and manage presets in Lightroom Mobile:
1. Import Presets to Lightroom Mobile
If you already have presets saved on your phone or have purchased/downloaded them online, follow these steps to import them into Lightroom Mobile:
a. Open Lightroom Mobile and tap the Library icon (usually the grid icon at the bottom left).
b. Tap on the three dots icon (•••) in the top right corner of the screen.
c. Choose Import Presets from the menu.
d. Browse and select the preset files (often .dng format). These will automatically be added to your Lightroom.
Note: Lightroom mobile accepts presets in
.dngformat, which are essentially photo files that have preset settings applied to them.
2. Apply Presets to Your Photos
Once the presets are imported or pre-installed, follow these steps to apply them:
a. Open a photo in the Lightroom app.
b. Tap on the Presets icon (this looks like three stacked sliders).
c. Browse through the available preset categories and select the one you like.
d. Tap on the preset to apply it to your photo.
You can also swipe through different presets until you find one that fits your style.
3. Create and Save Your Own Presets
If you want to create a preset from your own edits, follow these steps:
a. Edit a photo with your desired settings (exposure, contrast, colors, etc.).
b. Once satisfied with your edits, tap the three dots icon in the top right corner.
c. Select Create Preset.
d. Name your preset and choose which settings you want to include in it. Tap Save to add it to your preset collection.
4. Sync Presets Between Devices (if using Adobe Creative Cloud)
If you’re subscribed to Adobe’s Creative Cloud, your presets can sync across devices:
a. Make sure you’re logged into the same Adobe account on both your desktop and mobile Lightroom apps.
b. When you create or import a preset, it will automatically sync to all devices where you’re signed in with the same Adobe ID.
5. Organize Presets for Easy Access
Lightroom Mobile allows you to organize presets into groups. Here’s how to create preset groups:
a. Go to the Presets panel.
b. Tap the three dots icon (•••) at the top of the preset list.
c. Select Create Preset Group and give it a name.
d. You can then drag and drop presets into this group for easy access.
6. Adjust Presets After Applying Them
After applying a preset, feel free to fine-tune it. You can still adjust the individual settings like exposure, contrast, or saturation to personalize the look.


