Moody Brown Tone Lightroom Free Presets
Create Moody Brown Tone Lightroom Presets Easy method And Download Presets.
Hey creators! What’s up? I hope you’re doing well. welcome back to the blog!
If you’re new here, I post Many Lightroom Free moody presets in this website: https://presetslr.com/premium-lightroom-presets – photo editing, and aesthetic color-grading styles.
Today we’re diving into one of my favorite styles ever…
🌰 Moody Brown Tone lightroom Tutorial And Free Download Presets Link Here
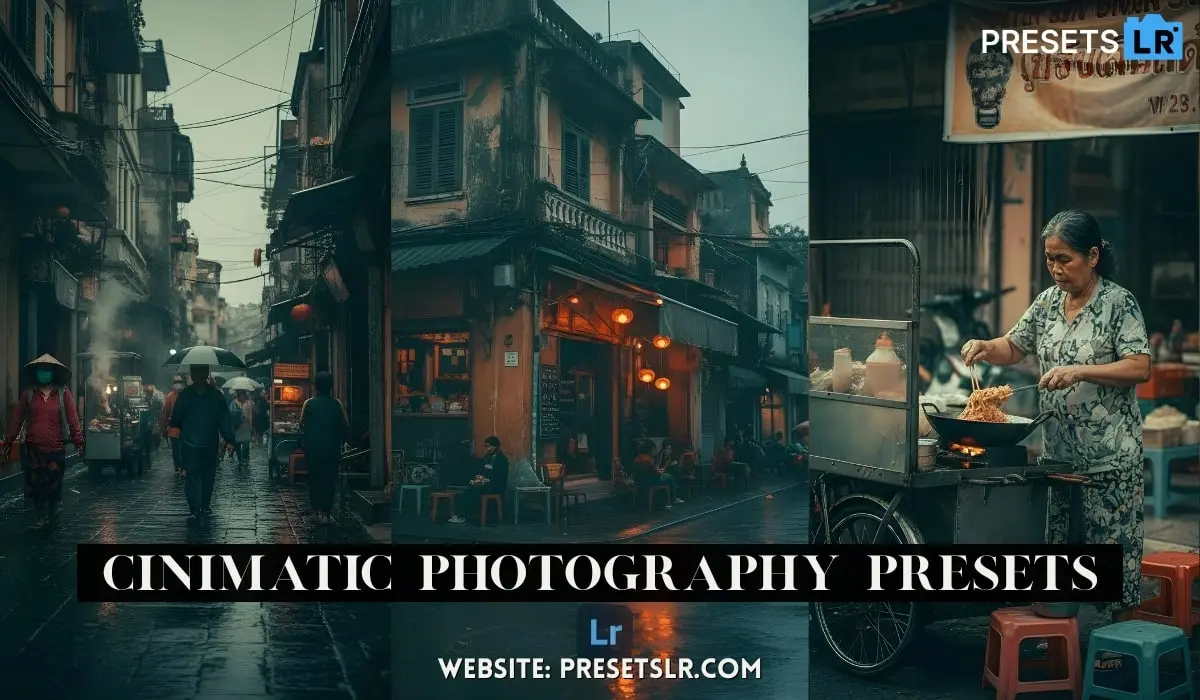
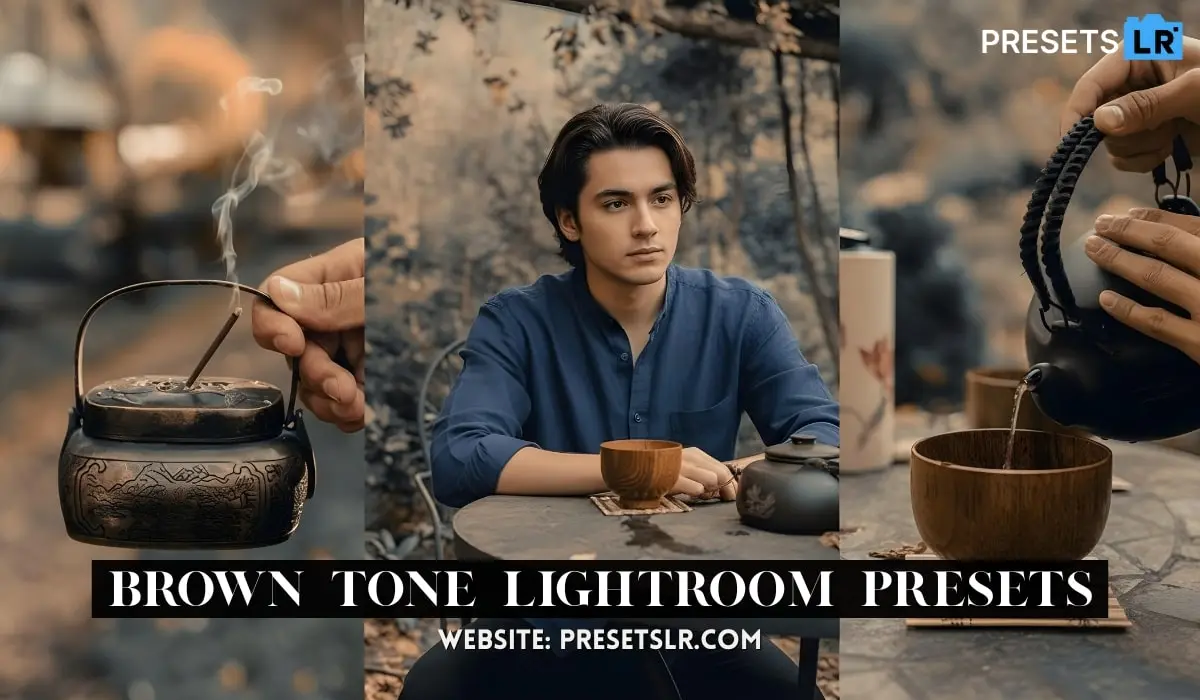
This look is a mix of the classic moody vibe — dark, contrasted, misty, cinematic — blended with warm brown tones in the shadows and highlights.
Download Brown Tone Lightroom Preset (Free)
Click the link below to download the free preset pack:
👉 [Insert your download link here]
Included:
1 Moody Brown Lightroom Preset (XMP)
Mobile version (DNG)
Works on Lightroom Mobile + Lightroom Classic
How to Download & Install Lightroom Presets
For Mobile (Lightroom Mobile – Free App)
Download the DNG preset file from the link above.
Open Lightroom Mobile → Tap Add Photos
Import the DNG file
Open it → Tap the three dots (•••)
Select Create Preset
Name it “Moody Brown Tone” → Save
How To Create Brown Tone Lightroom Presets Read full Blog Or Download This Brown Tone Presets
what’s up creators I hope you’re doing well I’m Tony Fuentes welcome back to my channel if you don’t know who I am I post tutorials on video on photo editing okay today we’re gonna analyze one of the styles that I’m most fond of which is the Moody Brown Style now if you’re being a bit simplistic about it this style is just the combination of the Moody style which we all know and love with some brownish tint it’s just as simple as that but there’s a bit of theory behind it now
it’s working with some type of contrast on one side we have the Moody style which we all know as being a representation of a cold Misty day or mysterious day in the mountains with maybe some rain or some fog or anything like that which is representing the blues or the cold tones and then we’re adding some brownish tint in the shadow zone in the highlights which is direct opposite to the cold now this color contrast or this direct contrast is very appealing to the eye similar to what we have with the teal and orange look which
are direct opposites in the color wheel that’s creating some color contrast but also creating a complementary or a balance in the image so this color contrast really is working to the favor of this preset making it a lot more interesting to the eye and more appealing very similar to those very rare lighting situations where we have some sepia sunsets in a rainy day sometimes it’s raining outside it’s over cast and all of a sudden the sky the light everything turns towards this beautiful orange or brown Tint that’s
the style that we’re trying to replicate so let’s stop talking let’s jump into Lightroom and start editing it’s going to be a very simple edit guys so here I have several images most of them are shot in a moody day or an overcast day with the exception of these two so I’m gonna select this one and go to the develop tab with d on our keyboard and as you can see this is the final result this is the before and after and this is the style that we want to replicate so it’s a moody style you can
see those faded out blacks with a lot of harsh contrast and just replicating a moody day and then we have that brownish tint throughout the entire image so let’s reset this one and start editing okay so first of all let’s go with the exposure and contrast to achieve that Moody setting first so for that we’re just gonna make the image a lot darker a lot more punchier and Fade Out those blacks and whites now remember white balancing exposure and contrast I don’t like to move them those are the values I
like to leave at zero so this preset doesn’t contain them and those are the values that we’re gonna adjust to adjust this preset to different lighting scenarios or different photographs so let’s start off with the highlights and shadows which are further down below now this image is a bit Overexposed as we can see in the histogram over here so I’m just gonna reduce a bit of the exposure just to make the image a bit more even something like that unless they’re off by pulling down the
Highlight now in this case I’m just going to put them down so we have a bit more information in brightest parts of our image so around -20 the shadows I’m going to pull them up so we have more information in the dark parts to see what we’re working on with just around the plus 50 is going to be enough White’s going to pull them down just as well we don’t want pure whites on our image just pull the brightest Parts down and then the blacks also going to put them down so we have that nice contrast
okay next up texture Clarity and the haze well these ones are going to depend on you guys me personally I don’t like to add Clarity in this case I used to be a big fan of the clarity now I don’t really like it yeah but if you want a very Punchy style you can always add some clarity and that’s just a lot more contrast into small details on the image I’m just going to leave it at zero I’m going to go to the tone curve and the tone curve well we’re going to create the basic s-curve for the Moody settings
now if you don’t know how the tone works I already made a tutorial about the tone curve I’ll link you up here so you can remaster this too so I’m going to create a point in the shadows and a point in the highlights now the whites I’m going to pull them down below the diagonal we don’t want any pure whites just like that then the Highlight is just going to pull them up just a bit over so we have that nice contrast and the Shadows opposite to that just gonna put them down below
the diagonal something around these lines and then the Final Touch for the Moody look is the faded out black so you here you can go to the extreme if you want something very faded out.
the image is a lot more dark a lot more Moody where those Fade Out blacks and figure out why it’s basically the tone curve does a lot of the work and that’s basically why it’s such an important tool when replicating Styles or creating new Styles so that’s for exposure and contrast now we have that Moody setting now let’s add that brownish tint and for that we’re going to use camera calibration hsl but also color grading in that’s going to be the most important one so let’s start off with by using
camera calibration and normally camera calibration is at the bottom but I dragged it up to the top because it’s one of the most important Tools in my in my experience to use I already made a tutorial about camera calibration I’ll link it up here in the cards and for those who are going to ask camera calibration is not in Lightroom desktop for the new version or Lightroom mobile only online classic that’s why I use this one let’s hope that in the future they add camera calibration to those and
to softwares as well so let’s start off by making the image a lot more warm so for that first of all the Reds if we go to the negatives we can see that all the magentas and purple really start to pop up but also the greens because they’re well direct opposite or complementary from the red primary so what we want to go is go to the positives not too much but we want to go to the positive so the colors are a bit more warm then I’m going to desaturate just a bit and remember here we’re affecting every
single color that is composed by these three colors the RGB every single Pixel that we can see in our image is composed by the Reds the greens and the blue so we’re gonna be very careful in the amount of saturation or the amount of moving that we do to these ladders now green primary we don’t want to go to the emeralds again the greens turn towards the emeralds and we can see we have very nice skin tones like this because all the Reds start to pop up from the skin making it a lot more Rich particularly
in this image which was shot with the Sony a6500 and as you can see we have those cursed yellows from the previous generation of the Sony cameras my a74 right now has much beautiful much better skin tones than the a6500 right here but yeah let’s start off by just pulling down the green primary towards the negatives so we have warmer greens and a bit more warmer Reds as well and the saturation just going to pull it down then we’re going to go with the blues now in the Blues we don’t want to
go to the positives we want to go to the negatives now the blue primer is going to be very important because the direct opposite of the blue and the teals is the oranges and want a lot of orange to make the brown with we don’t have brown in camera calibration and we don’t have brown in color green so we have to make a mixture of warm tones to achieve that brownish tint so here we’re going to go to the negatives as we can see to the negatives completed to -100 how the wood really starts to pop up and the greens
as well and we have a very Brown and very bright image it’s too much we’re just going to go to the minus 25s or something like that and then saturation here we’re going to go towards the negative now how much you drag the saturation down here will determine the more emphatic style that you’re gonna have for example if you go all the way down to the minus 85s you can see that image is very dramatic it’s the saturation basically every single color that has a bit of blue and it’s a very
moody style much like Alan Polander’s style which is almost black and white with the exception of the warmish tones but without yeah the brownish tint but then if you go to the positives as we can see everything that has a lot more life to it we don’t want to go too much to the negatives in this case I’m gonna go to the minus 55 you guys can play around and this value is just in the middle and as you can see if we click this button on off it just makes the image a lot more Moody and a lot
more Brown this is what we were looking for okay next HCL now in HL we’re basically gonna alter a bit of a hue and saturation of every single color with the exception of red orange and magenta because those colors normally contain the skin tone so we don’t want to mess around too much with skin tones we want them the natural as possible we are making a lot of changes in camera collaboration so the skin tones are can be affected but we don’t want to affect them anymore so we’re not going to move
those we are going to move the yellows all the way to minus 100 the greens and the apples now this may seem a bit of an extreme move but we’re trying to achieve a very dramatic style which is the Moody Brown so all the way to the minus 100 to make the leaves as we can see very warm and also every single part of the image which has any part of green gonna make it a lot more yellow and a lot more orange next saturation right here we’re going to desaturate basically everything color with the exception of the skin
tones so let’s start off with the oranges just gonna pull them down yeah every single color to around the minus 60s or the 70s something like that just to make the it’s very desaturated now the purpose of this is just to desaturate the image so we can replace those colors with the brownish tint in the color grain to make this style very emphatic so now we’re gonna go to color grain and color grading if you don’t know how it works or we made a tutorial about it I’ll link it up here in the
card and it’s basically the new version of split toning so every single video that I make people comment down below I can’t find color grading where is it I only have split turning well it’s basically the New Evolution of split tuning so you can basically do the same thing that we’re gonna do right now in Split toning if you have an older version of light so here we’re going to go to the shadows I’m not going to add a color to the midtones because normally the skin of the subject is going to be
in the mid tone so I I don’t like to mess around too much with skin tones in this case but in the shadows we are going to add a warmish tint now the values that we’re gonna add right here are gonna make the brownish tint now we don’t have any brown color in the color wheel as we can see so we’re going to have to use a combination of oranges red and yellows now the combination you guys will determine it and depending on how yellow or how golden you want it to be or how dim or how Brown now in this case
you could go for a more golden like style for example for that you could mess around with some yellows and in the highlights you can add some oranges to make more of a vivid like orange or in my case I’m gonna add some oranges and some Reds to make it a bit more Brown so I’m gonna go here first of all with the hugest mess around with it I’m gonna go with a 30. as you can see it’s a bit of an orangey tone right here it’s quite nice and the saturation is going to be minimum it’s just around the 10 or 12
percent it’s going to be enough to replicate the style and then in the highlights I’m going to add a similar color but a bit more towards the oranges or to the yellows not too much I can go too extreme in this case now I’m just going to go with a 35 in the Hue and the saturation again is just going to be minimum around the 10 now we can click this button on off to see what color gradients does this is off and now we click it on and now we have that brownish tint to the shadows and also to
the highlights just making this beautiful brown preset now we can click this button on and off to see the before and after in the color grading and just before we have those Moody tones yes the saturation everywhere but then we add color grain and it turns to this beautiful brown tint in the shadows and also in the highlights given this Moody Brown look now here you can play around with saturation and also with the colors to adjust in the values that you want now one thing that’s very important one
value in color green that you need to learn is basically blending and balance now blending what it does is basically the fuse or be a bit more lenient or a bit more strict with the borders between Shadows mid tones and highlights so for example right now we added some color to the shadows and it also to highlight what happens if we add the blending to plus 100 we can see that the entire image is now tinted with these colors it’s basically removing those barriers that we have or what that Lightroom has
between each color that we added now if we go to the zero what it’s basically doing is being very strict into what it’s considering as Shadow and highlights and also retaining those colors only in those parts so it’s appear being a bit more strict so here you can play around just to adjust the values depending on how much you want those stones that we added to bleed out into the rest of the image now balance well basically just determining how the balances between shadows and highlights
so for example if we go all the way down to the Shadows which is in the negatives every single color including the highlights is going to be tinted with the color that we added in the shadows in color green if you go all the way down to the positives we’ll contain everything with the color that we added in the Highlight so just keep in mind these two values and maybe you need to alter them depending on the image okay so the preset is complete now let’s save it and test it out in other images and
see if we need to adjust any value so can go to the left side hit the plus sign and create preset and remember white balancing exposure contract we don’t want to mark them neither detail lens Corrections or transform everything else yes so we’re gonna hit create oh yeah so before we jump into another one here’s the before and after here we have the original image which was yeah very Vivid a bit Overexposed but now we have this very moody and brown and beautiful preset that we just created how about
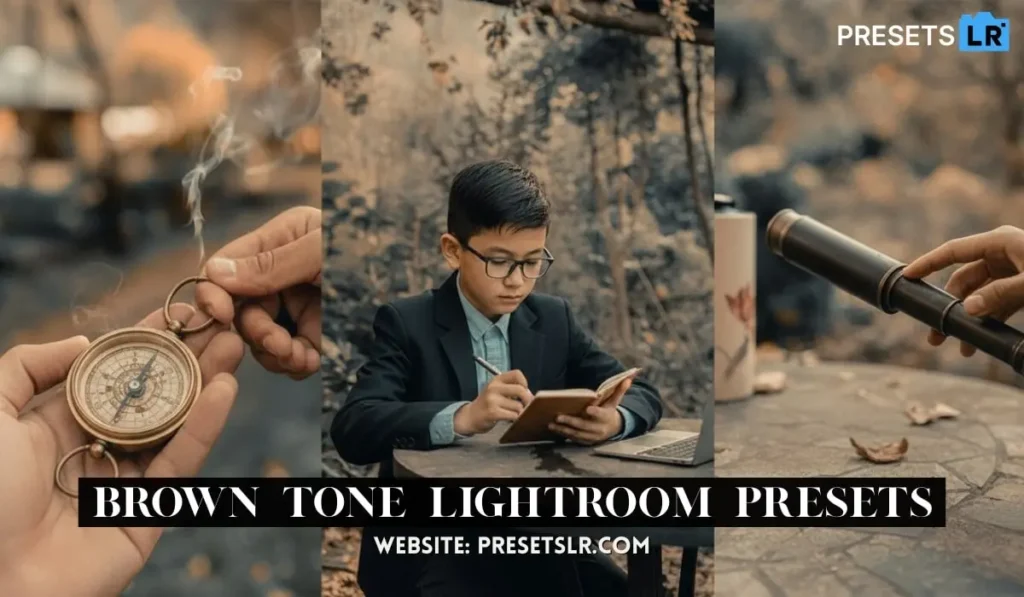
this image of some acorns in the mountain in a very foggy and Moody day so let’s see the preset as you can see I’ve already added into the LED preset pack V2 here you have midi Brown let’s place it and then well this image is a bit Overexposed in my case in 100 particularly just drag down the exposure and have this beautiful preset over here with some nice fitted out blacks and very moody indeed but with those brownish tones how about this one again this one is short with so we can see that high contrast which I
don’t really like in that camera and those greens well they’re spring green so they’re very Vivid I don’t like them at all so let’s apply the Moody preset over here just compensate a bit of the exposure and here we have this beautiful Moody Brown look a very nice contrast I really like it now if the contrast is a bit too much for you guys you can always just adjust the contrast into the general tab just reducing it just a bit to make the image a bit more light add some exposure
just pull up the shadows and here we have a lighter version so there we have it guys The Moody Brown look or at least how I would achieve the Moody Brown look I hope you liked it and keep some knowledge out of it remember that this preset is going to good for your photos.