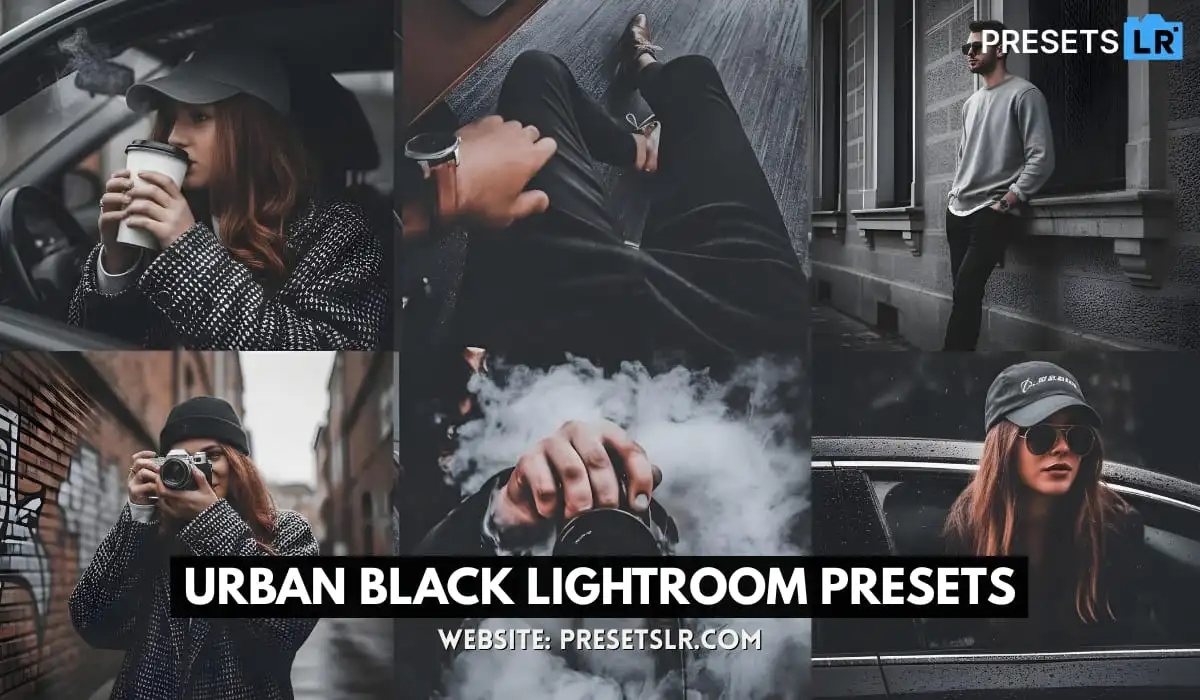
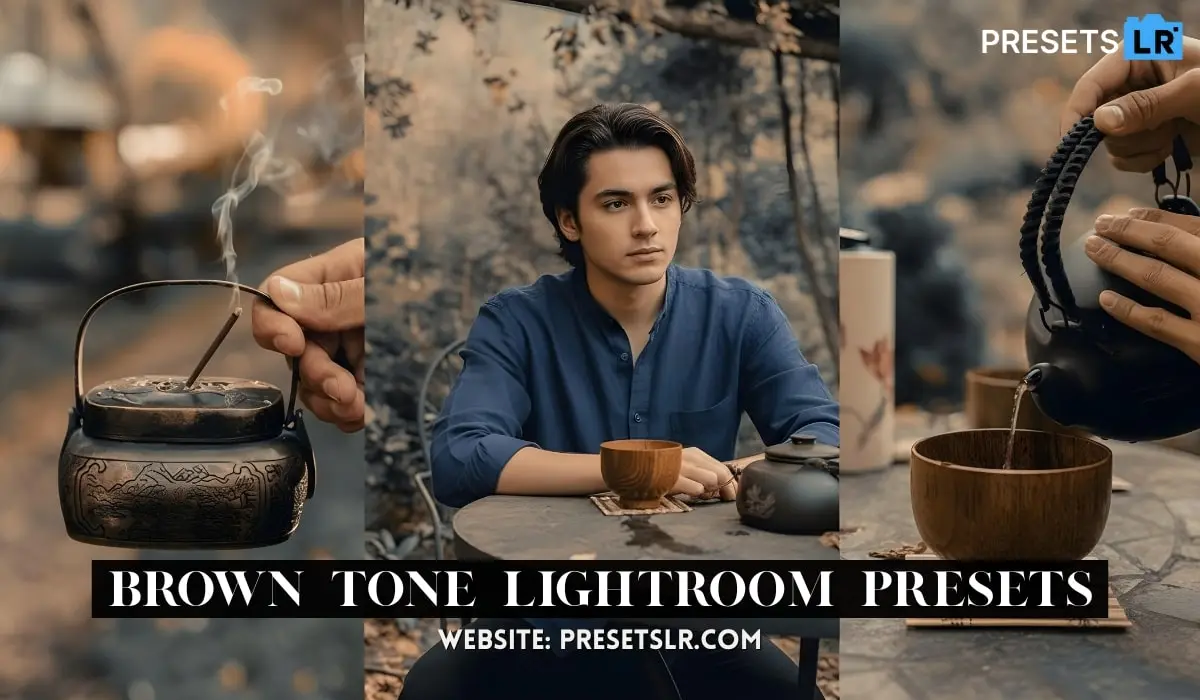
Step 1: Open Your Photo
To get started, open Lightroom Mobile and navigate to the Library tab, where all your photos are stored. Select the image you want to work with and open it.
Step 2: Apply a Preset
Applying a preset is super simple. Once your image is open:
- Tap the Presets icon (three stacked sliders) located on the right side of the screen.
- You’ll see a list of available presets, often categorized by styles such as Light & Airy, Moody, Portrait, or Vintage.
- Browse through the options and tap on the one you want to apply. Instantly, your image will be adjusted with the preset settings (like exposure, contrast, etc.).
Pro Tip: If the preset looks good but needs slight adjustments (for example, too bright or a bit too warm), you can always tweak the settings afterward without losing the preset look.
Step 3: Copy Preset Settings
Now let’s say you’ve applied a preset to one photo and want to use the same look on others without applying the preset manually each time. You can copy the settings from one photo and easily apply them to others. Here’s how:
- After editing your photo and applying a preset, tap on the three dots (•••) in the top-right corner.
- Select Copy Settings from the dropdown menu.
- A menu will pop up, allowing you to choose which settings you want to copy. You can select everything, or just specific settings like Exposure, Contrast, White Balance, etc.
- Tap Copy once you’ve made your selection.
Tip: Make sure to only copy the settings you actually want to apply to the next photo. For example, if you’re only interested in replicating color grading, uncheck everything except the “Color” option.
Step 4: Paste Preset Settings onto Another Photo
Once you’ve copied your preset settings, it’s easy to paste them onto another image:
- Open the photo you want to apply the settings to.
- Tap on the three dots (•••) in the top-right corner again.
- Choose Paste Settings from the dropdown menu.
- Your new image will automatically adjust to match the settings you copied from the previous photo.
Pro Tip: If you’re working on a batch of similar images (like a photoshoot), this feature will save you a ton of time. Just copy the settings from one image, then paste them onto each photo with just a few taps.
Step 5: Save or Share
Once you’re done editing, you can save the photo to your device or share it directly to social media. To export the image:
- Tap on the share icon (usually an arrow or square icon with an arrow) in the top-right corner.
- Choose Export or Export As, depending on your needs. You can adjust file resolution, file type (JPEG, PNG), and even apply output sharpening before exporting.
If you’re working with multiple images and pasted the same settings across all of them, export them together in batches for faster workflow.
Why Copying and Pasting Presets is a Game Changer
The Copy and Paste feature is a real time-saver, especially for those editing multiple images with a consistent look. Instead of applying presets individually to each image, you can edit one, copy the settings, and paste them to all other photos, achieving a uniform style across your entire set.
This feature is particularly useful for:
- Batch editing: Quickly applying the same look to multiple photos from a shoot.
- Consistency: Ensuring every image in a series has the same color grading, contrast, and vibe.
- Efficiency: Reducing the time it takes to edit similar images, so you can focus more on creative adjustments.
With these tips, you can harness the full power of presets, copy/paste settings, and make Lightroom Mobile work faster and more efficiently for you!


